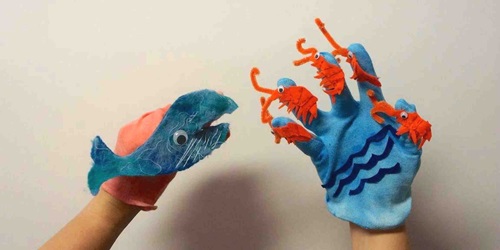
What will you discover?
Plankton are fascinating microscopic organisms. They absorb more carbon dioxide and generate more oxygen than all the rainforests on earth. Amazing, right?! They can even glow in the dark. But have you ever caught one? Plankton live in saltwater and freshwater environments. They don’t propel themselves but instead they depend on the tides to carry them along. There are lots of different species of plankton but the main categories you might already know are phytoplankton - plant plankton who photosynthesise, and zooplankton- the animal plankton that eats phytoplankton.
Plankton also tell us important information about the environment in which we find them. If you’ve ever drawn an ocean food chain or food web you would know that everything is interconnected! Plankton are incredibly important for maintaining healthy oceans.
Suitable for ages: 7 years and up
Time required: 15 mins
Difficulty: 2 out of 5
Here we are going to create a plankton collecting net out of recycled materials. To actually SEE the plankton you collect you will need access to a microscope as well (there are some clever DIY phone microscope tutorials out there if you are keen to try them as well).
How to make a plankton net
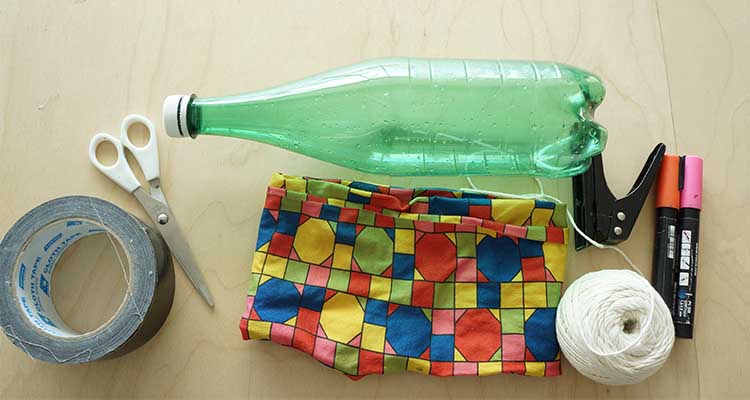
- Recycled plastic bottle with a lid
- Nylon panyhose/stockings (cut each leg)
- Hole punch
- String
- Duct tape
- Scissors
- Jar or sealable container
To Make:
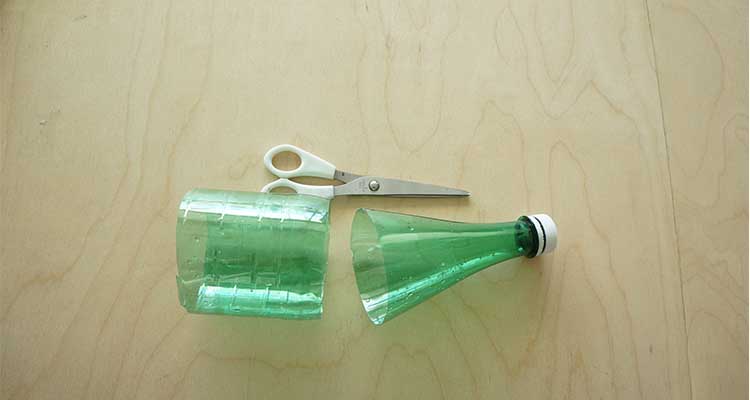
Step 1.
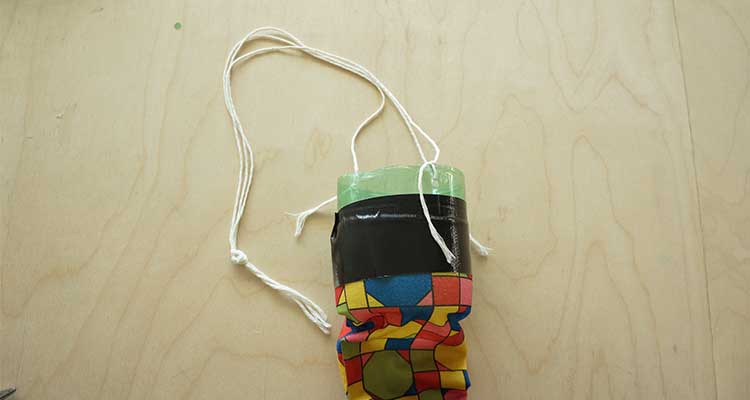
Cut your bottle into thirds. Use your hole punch to place 3 evenly spaced holes around one end of the middle part of the bottle. Place your bottom part in the recycling or save for other crafty needs.
Step 2.
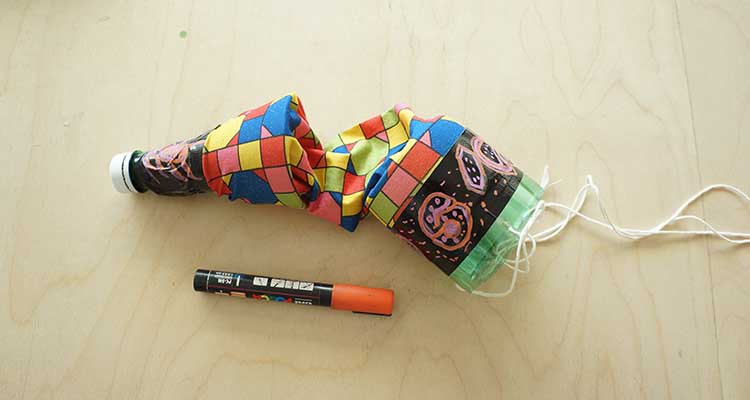
Aft Snip your stockings. Cut a small hole in the toe of the stocking and pop the top of the bottle through here.
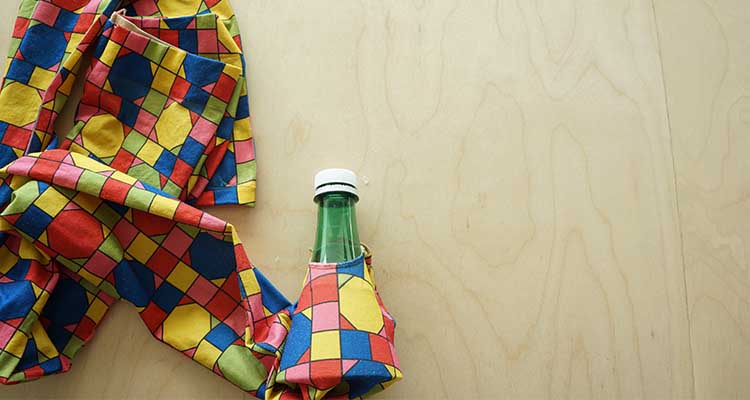
Make sure it fits tightly then tape it to make it more secure. Attach the middle of the bottle (the side without holes) to the other end of the nylon with tape.
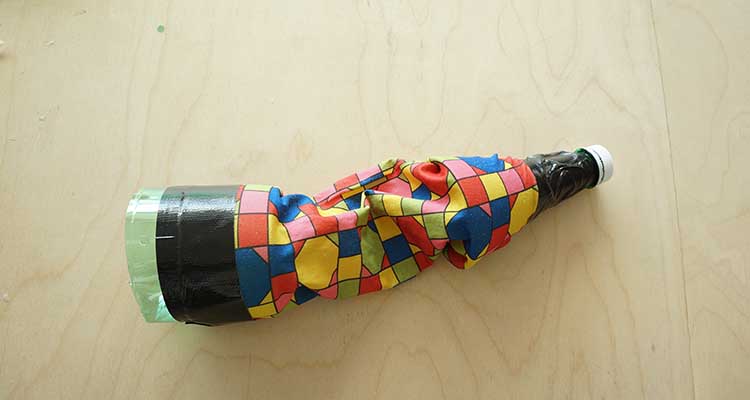
Step 3.
Create 3 lengths of string, about 90cm long each. Tie them onto each hole at the top and then tie them together at the top. This is your tow line.
Step 4.
Decorate your plankton net.
Step 5.
Time to go and collect plankton!
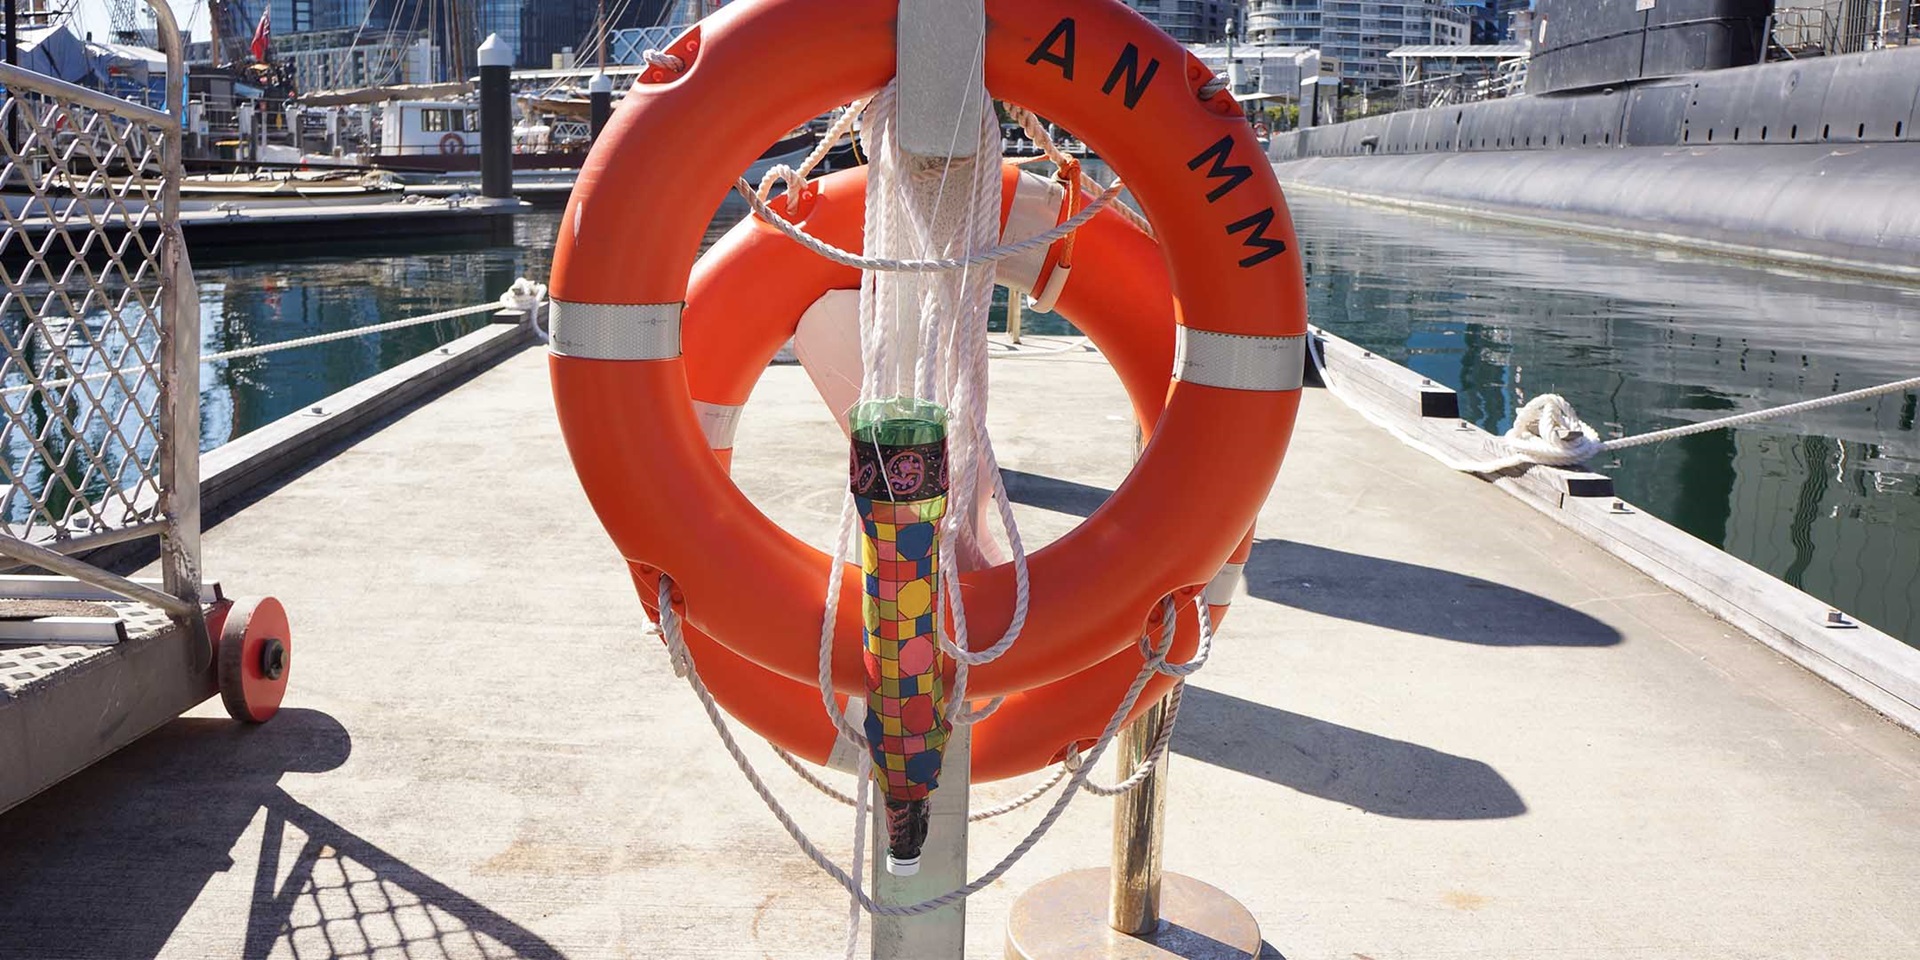
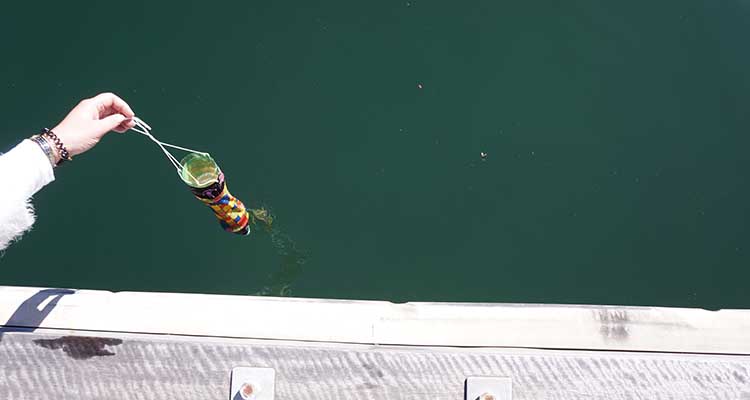
Traditionally plankton would be collected off the back of a slow moving boat, if you have access to this option- great! Just lower the net vertically, tow the net until it is about half full with water, then raise it and release the sample into a sealable container.
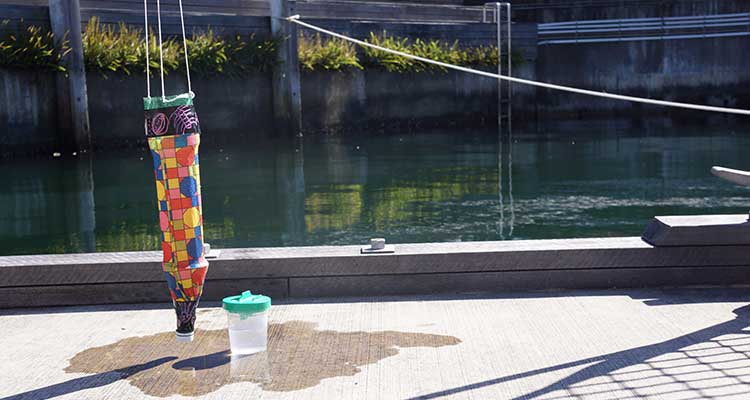
If you are doing this at home it’s more likely you will only be able to access a wharf or maybe somewhere that you can enter the shallow water. For this location you should lower the net vertically until it is about half full of water or when the strings are completely extended, slowly move it along the water forward, then raise it up out of the water. Release your sample of water into the sealable container by opening the bottle cap over your container.
Make sure you don’t collect water near the bottom but keep your net along the top of the water as this is where the most plankton will be - up near the sunlight.
Step 6.
Now you are ready to see what’s swimming in the water (well plankton can’t really swim but you get my drift – that’s some plankton humour for you!)
Since they are microscopic you will need a microscope here to see their body shape and antennae. If you don’t have a microscope you could use a magnifying glass to inspect other larger organisms in the water OR build your own microscope using a mobile phone camera.
And there you have your plankton net!
Be sure to draw what you see in the microscope and look up some different kind of plankton online. Which ones did you find?
We’d love to see your creations!
Please send us photos either by email to: web@sea.museum or tag us on Instagram - just tag the photo with our username @sea.museum
You might also enjoy...