
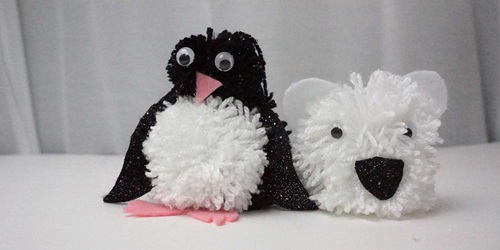
Chinstraps, Gentoos, Kings or Adelie’s – we are smitten with Antarctica’s most adorable inhabitants - penguins! Here's how to make your own at home.
Suitable for ages: 7 years and up
Time required: 1 hour
Difficulty: 4 out of 5

Make your own cute and cuddly penguin softie at home.
What You'll Need:
- Penguin softie patterns – Part 1 (jpeg 146 KB) and Part 2 (jpeg 146 KB)
- Sharp Scissors
- Upholstery thread or wool
- Large darning needle
- A few dressmakers pins
- Large buttons or google eyes
- A small piece of yellow felt
- Pillow stuffing
- Scrap fabrics or felt
TIP: Thicker fabrics, like upholstery fabrics, and non-woven fabrics like felt are easier to hand stitch neatly. Fabrics that easily fray at the edges are not a good idea. If you are using thinner printed cottons you may like to paste a complimentary coloured piece of felt as a backing fabric to make it thicker and easier to handle.
Step 1.
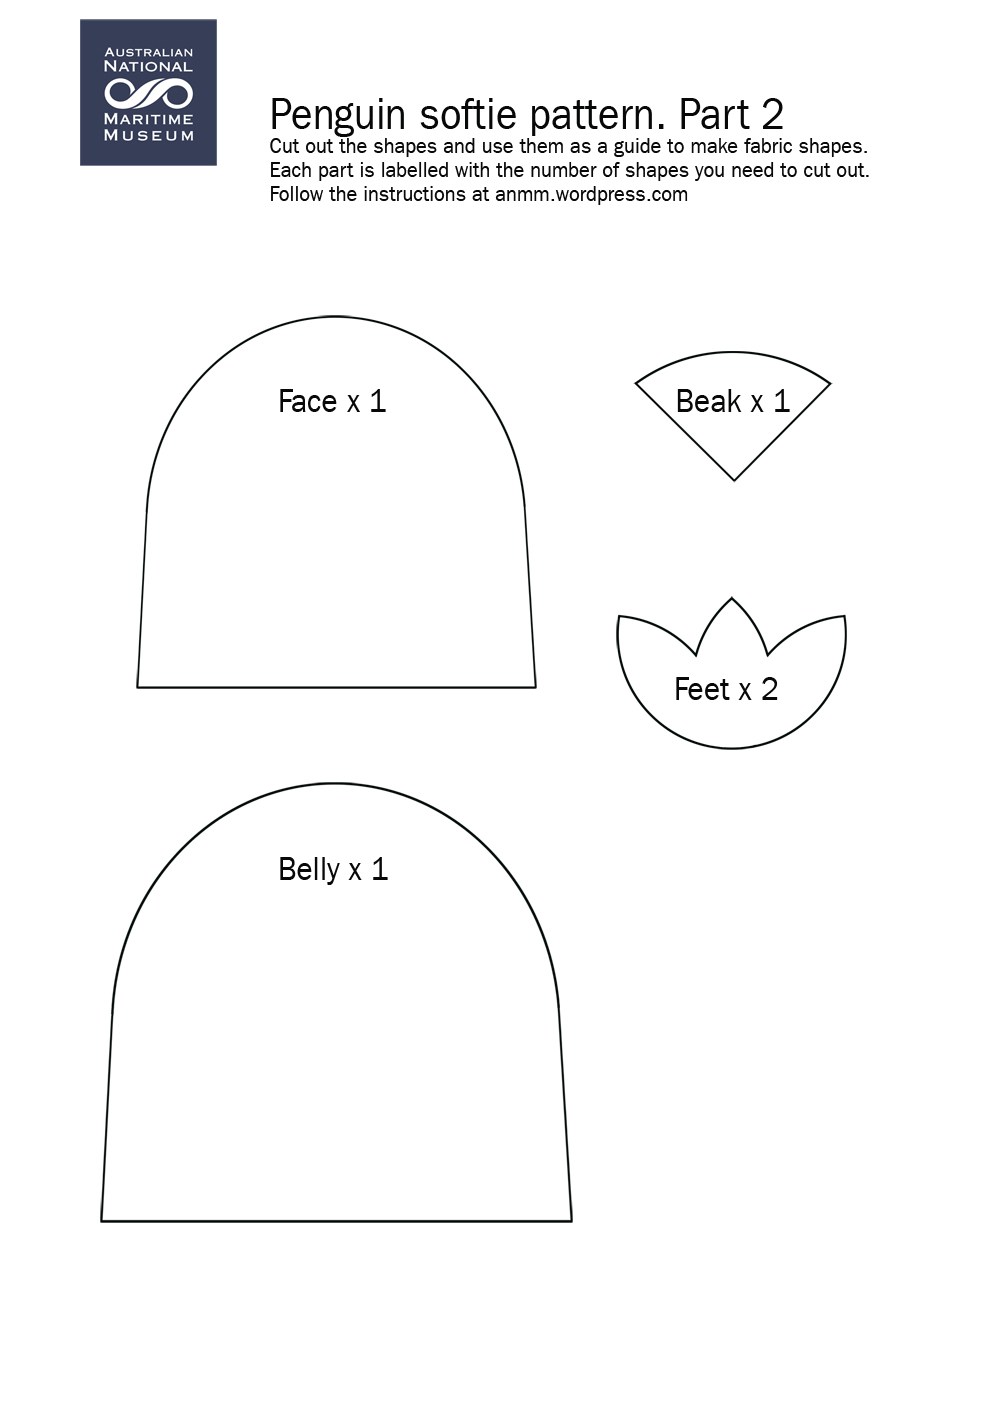
Download and print a copy of our penguin softie patterns – Part 1 (jpeg 146 KB) and Part 2 (jpeg 146 KB).
Step 2.
Trace the pattern pieces onto your scrap fabrics and cut them out. The feet and beak can be cut from the yellow felt.
TIP: Each pattern piece is labelled with the number of shapes you need to cut out. You may like to customise the size of the beak, belly and face to suit how you want your penguin to look.
Step 3. Take your front body fabric piece and pin the face and belly onto it using dressmaker pins.
Tip: Remember to leave a small seam allowance (1.5cm or so) around the outside of the body.
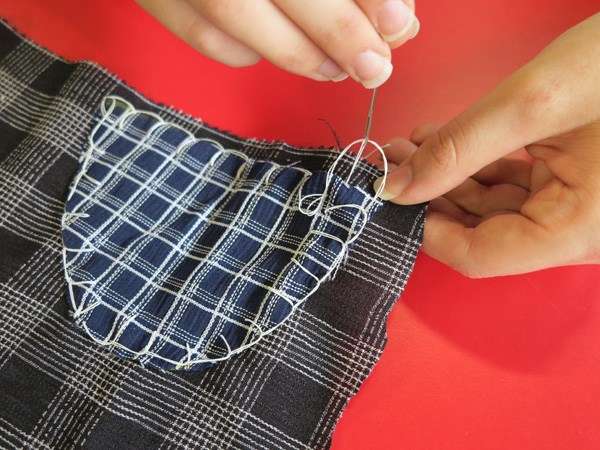
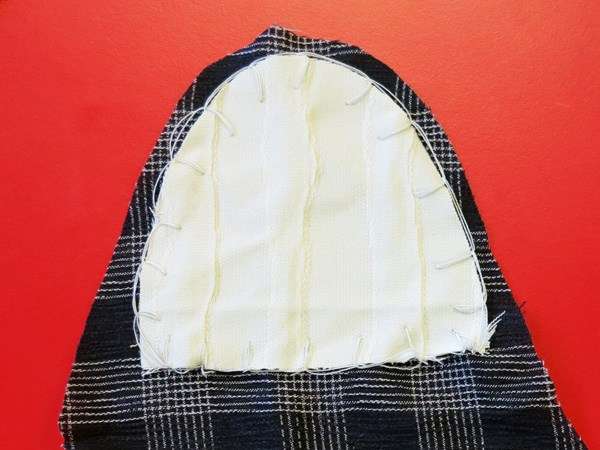
Step 4.
Sew the face and belly on using blanket stitch. Tip: Here's a blanket stitch YouTube tutorial
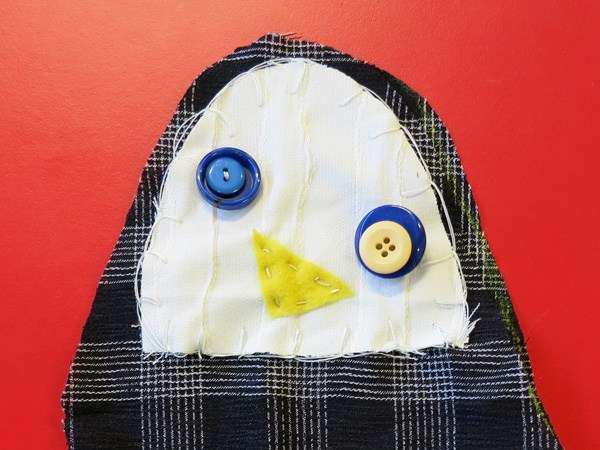
Step 5. Sew the beak onto the face using a running stitch.
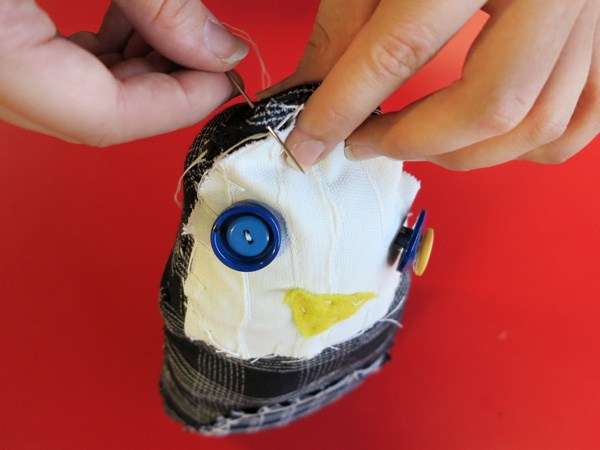
Step 6. Sew the button eyes onto the face (you can paste eyes on with glue later on if you are using googly eyes). We have made our penguin’s eyes and beak asymmetrical but you can make them more even if you like.
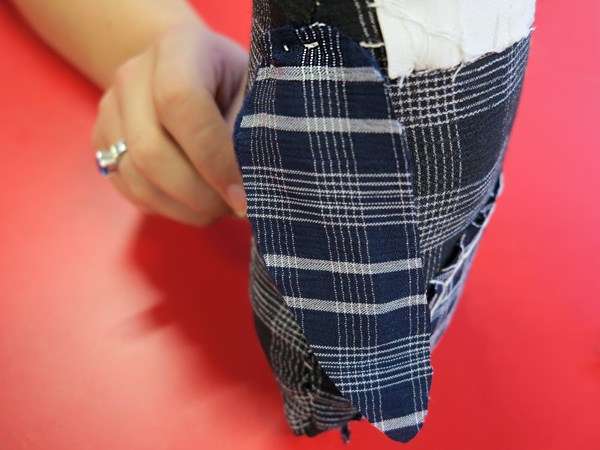
Step 7. Place your two body fabric cut outs together with the decorative sides facing in. Pin along the edges to hold them in place while you sew them together.
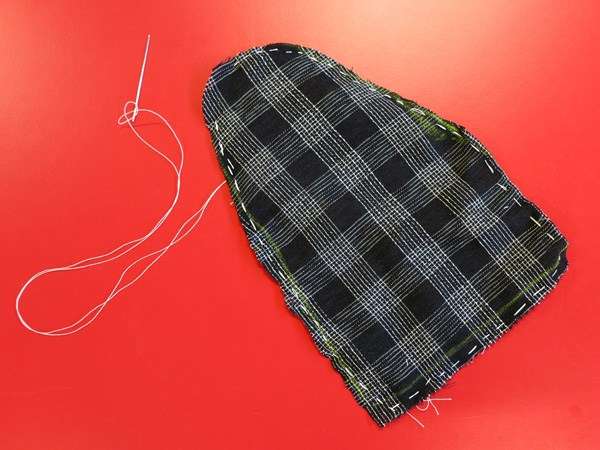
Step 8. Use a running stitch to sew all around the outside of the body. Don’t forget to leave a gap of approximately 5cm of seam unsewn so you can turn it the other way out again.
TIP: You could also do this part on a sewing machine if you want it done neat and quick.
Step 9. Use the gap in the body’s seam to turn the penguin the other way out. Poke your finger inside the shape to push out all the seams.
Step 10. Stuff the body of your penguin through the gap with as much stuffing as you need to make your penguin full figured.
Step 11. Fold in the seam around the gap in your penguin’s body. Pin it in place and sew to close off the seam.
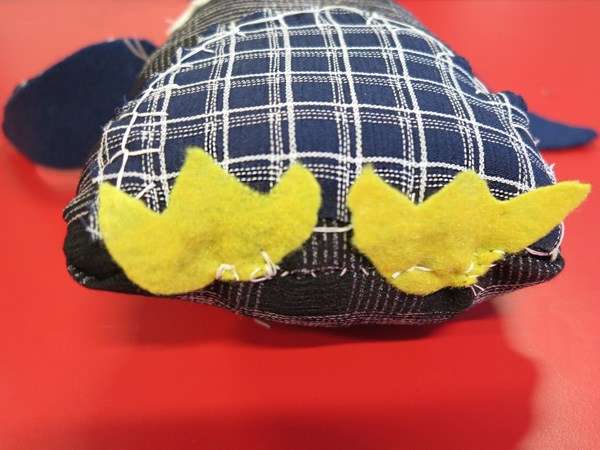
Step 12. Sew your flippers and feet to the body.
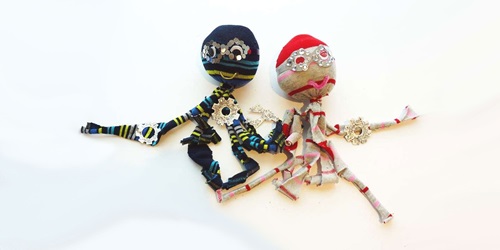
And there it is! Too cute for words, but not too cute for a name. Patch the Penguin, perhaps? What would you name your penguin?
We’d love to see your creations!
Please send us photos either by email to: web@sea.museum or tag us on Instagram - just tag the photo with our username @sea.museum
You might also enjoy...