These kid-friendly stand-up gingerbreads are great for school holidays activity.
Simple, fun to make and easy to involve little ones in most of the making. They can even be wrapped up to give as a gift.
Suitable for ages: 3-8 years and up, adults
Time required: 1.5 hours
Difficulty: 4 out of 5
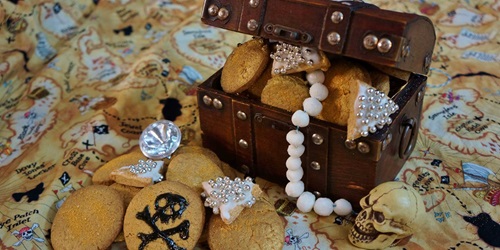
Related Programming: Pirate School
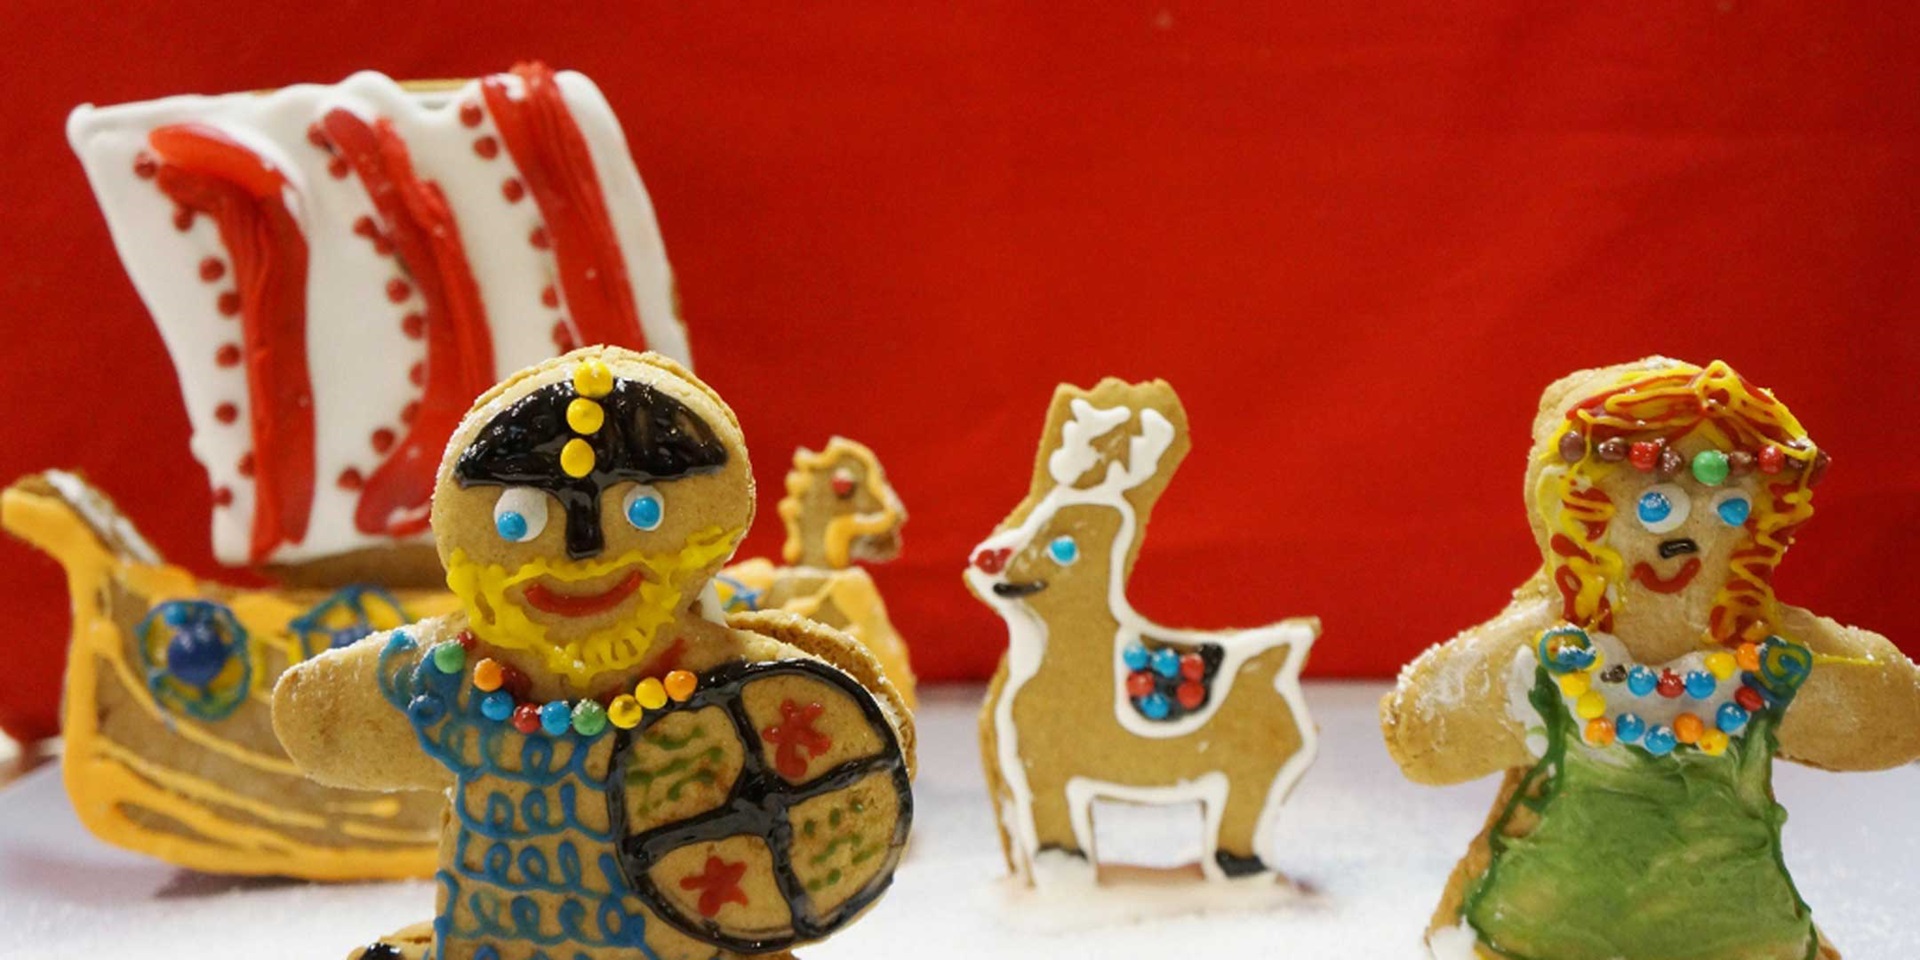
The inclusion of reindeer mean these also make perfect Christmas treats. We love all things Vikings and hope you are as a much a fan of craft that’s equal parts beautiful and edible as we are.

What You'll Need:
- Ingredients for your favourite gingerbread recipe. We used this one
- Tools for cooking: Mixing bowl, Spoons, Measuring cup, hand held beater, piping bags, baking paper, baking trays, butter knife, spatula, rolling pin, oven mitts, scissors
- Print outs of our Viking gingerbread patterns ( page 1, page 2, page 3)

Ingredients for your icing cement:
- 3 cups icing sugar
- 1/4 tsp cream of tartar
- 2 tsp water
- 2 egg whites
Things to decorate with:
- Coloured dyes for icing
- Writing icing
- Chocolate candy-coated colourful buttons
- Snakes
- Other lollies of your choosing
- A tray or board to present your gingerbread on
- Tip: Avoid using too many jellies and heavy lollies as these will unbalance your gingerbread

Step 1.
Make up your chosen gingerbread recipe to the instructions.
Once it is ready, roll out your gingerbread between two sheets of baking paper to 4mm thickness.
Sprinkle some plain flour on the surface of the gingerbread.
Tip: Rolling out the gingerbread will be a fun step for the kids to help with. Cutting out the shapes neatly may be a bit too fussy for them so this part will need a grown up to help complete.

Ensure you flour the surface of the dough before placing the templates on top. Remember to cut the correct quantity of each.

Cut out your gingerbread shapes by tracing around the templates with a knife.
Step 2.
Take your cut-outs of the Viking gingerbread patterns and lay them on the gingerbread to cut out. Remember most shapes will need at least two cut-outs.
The long ship requires one full size cut-out and 2 cut-outs of just the boat base.
Slice around the shapes with a butter knife and carefully place on baking trays without squashing the shape. To do this we left the cut gingerbread on the baking paper and cut around it with scissors to the size of the baking tray.
Replace your bottom layer of baking paper. Roll out the off cuts of gingerbread to 4mm thick again to create more pieces.
Slide the gingerbread onto your tray with baking paper. Ensure the edges aren’t curling up as this will make your gingerbread uneven. Trim to size with scissors.

Step 3.
Place the gingerbread in a preheated oven for 10 minutes or until golden.

Once cooked, remove and allow to cool thoroughly before icing.

Step 4.
Make up your icing cement.
Use a hand beater to mix together the cream of tartar, water, egg whites until peaks form. Add the icing sugar and beat a further 10 minutes until it is fairly thick.

Making a gingerbread stand-up sandwich - use icing cement to glue two figures together.

Get the kids to help you put together this bit - gingerbread 'sandwiches'!

Step 5.
Lay your gingerbreads on a board or bench.
Pour icing cement into a piping bag.
Pipe icing cement onto the back of one biscuit and lay the second biscuit of the same shape on top like a sandwich.
To make 'flying' reindeer you might like to put a lollipop stick between the sandwich layers to help give them the effect of 'flying' when they stand up.

'Leaping' reindeer.

'Leaping' reindeer.
For the long ship, ice the front and back of the boat base of the full long ship cut-out (that's the one with a sail) and place a boat base gingerbread on either side. You might like to lay a support layer under the sail while you decorate, to help stabilize things.

Step 6.
Now for the fun part! Kids will enjoy helping with decorating the Vikings.
For easy drawing of the decoration we recommend using writing icing.
Alternatively you can create separate batches of coloured icing cement in piping bags. The icing cement will be best for piping under any lollies as it holds fast.
We used snakes for our boat sail, candy covered buttons for eyes, noses, shield centres and jewellery. Remember to only put out a few lollies at a time if you are working with children as the temptation to eat them all will be too much for some!
For historically accurate Viking gingerbread our Viking man is dressed in a helmet with nose piece (no horns!), chain mail, beads and a decorated shield. Our Viking lady wears a tunic held up with beads and brooches. We’re not sure if Viking age reindeer wore saddles or had red noses but we are just going to go with it! Our long ship is decorated with shields on the sides, a red and white striped sail and a sea serpent mast head.

Step 7.
Leave your iced gingerbread to dry (about an hour). Cover any leftover icing cement for use later.
Once dry, assemble gingerbread on your presentation board.
Pipe a small amount of icing cement on the places where you want your gingerbread forms to stand up.
Trim any curved edges on the base of your gingerbread man, lady and reindeer so that it will stand more easily.
Once you're happy with the arrangement, dust some icing sugar over it.

Take a photo of your adorable gingerbread Vikings before they get eaten up!
We’d love to see your creations!
Please send us photos either by email to: web@sea.museum or tag us on Instagram - just tag the photo with our username @sea.museum
You might also enjoy...