Each year the Maritime Museum sends items from our collection to other institutions. In 2019, 54 items from the National Maritime Collection were sent to regional galleries and international museums, sharing the national collection and maritime story with many communities.
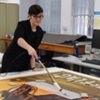
As the paper conservator at the museum, it’s my job to prepare every paper, book and photographic item in the collection to make sure it is safe for travel and display. Sometimes this takes a few hours and, as you’re about to find out, other times it takes hundreds of hours.
We recently sent eight paper items to the Mornington Peninsula Regional Gallery to be in their exhibition Sublime Sea: Rapture and Reality – follow my journey as I prepare one of these items for loan.
Questions and Examination
When items come to the conservation laboratory, we assess their condition and ask a lot of questions to determine if it is safe to go on loan. Is the object physically damaged? Is it unstable? It is fragile? Does the paper have tears, stains or folds? What materials is it made of? Is it changing on a chemical level?
To find out the answers we use different light sources, magnification and photography to look closely at the item. We document its current state and capture this information.
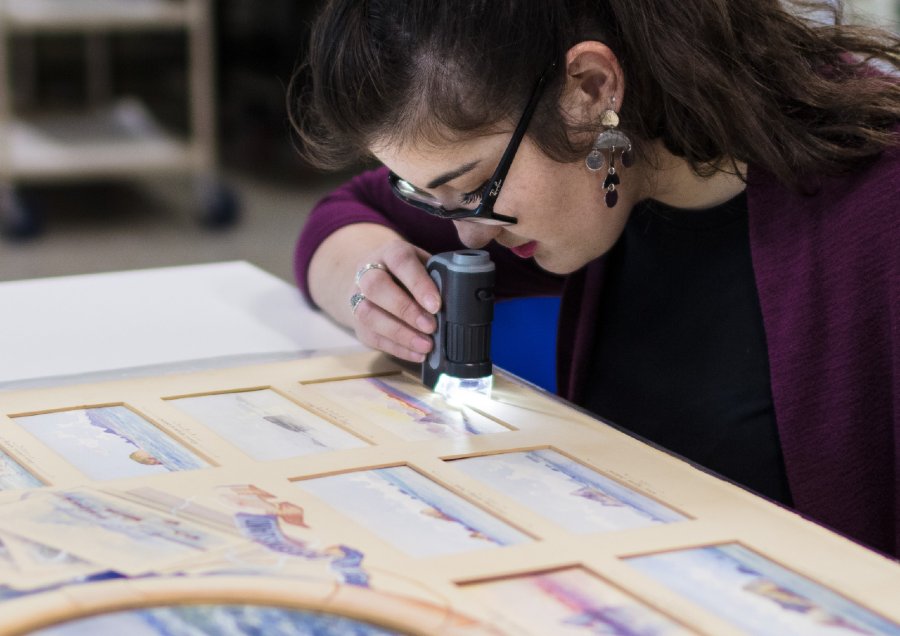
Using a hand held microscope with an LED light that allows you to look closely at an item, up to 120 x magnification! You can see the paper fibres and incredible detail of the materials and condition. Image Kate Pentecost
Next, we determine if we could improve the condition of an object through treatment, and then consider packing requirements and display supports. Often we only select things for loan that are largely stable so they don’t need treatment. We aim to prevent damage rather than rectify it. Our motto is ‘less is more’, so it’s rare that we do a major treatment in preparation for a loan.
There are some incredibly beautiful works included in this loan. All eight of them required photography and documentation. Most required little or no treatment, but then I came across one item that required major treatment. It was a series of watercolours by Frederick Elliott. While it had been acquired quite recently into the National Maritime Collection, it had been waiting on some conservation attention due to other high priority items and exhibition deadlines.
Looking closer at the Frederick Elliott watercolours
Treatment Time!
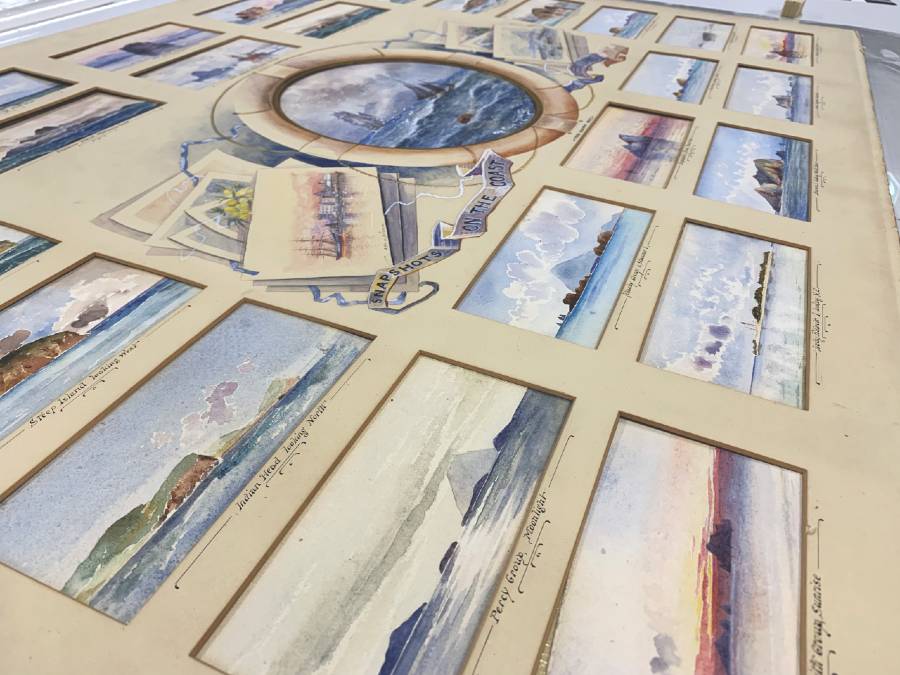
While ‘Snapshots on the Coast of Queensland’ (‘Snapshots’) is technically one object, it comprises 27 individual watercolours mounted together in to one window mount (little windows cut out of a board so you can see the watercolours underneath).
It was showing every one of its 100 years of life. There was severe discolouration from the materials themselves and from contact with wood (you could see wood knots and grains!). This wood could have been part of a previous frame which could have been lost throughout its history. Additionally, there was dirt, fading of the watercolour media, the watercolours themselves were falling off their window mounts, and when we looked at the back… lots of tape. So much tape!
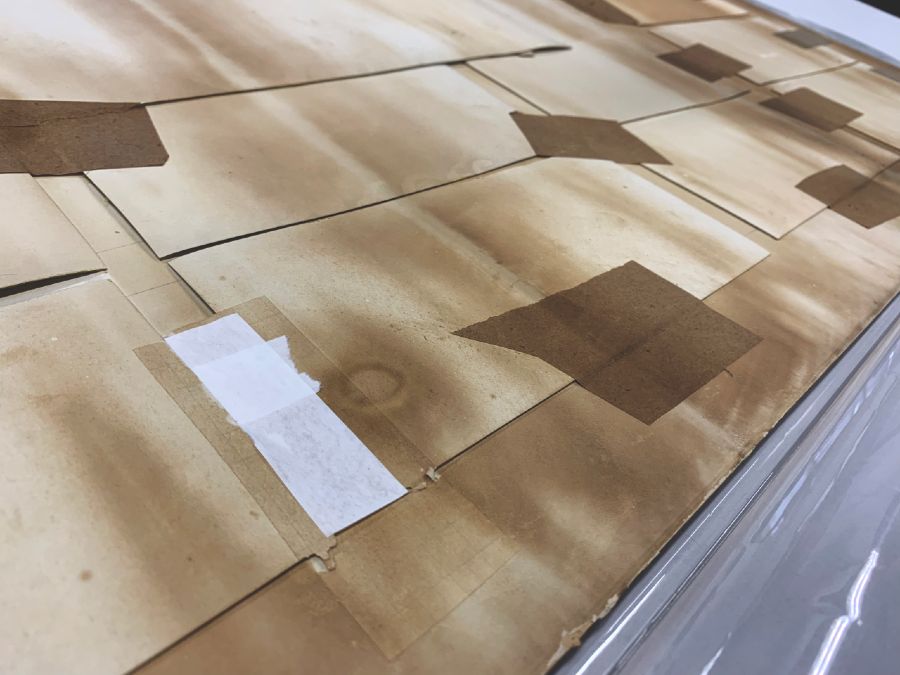
Looking closer at the back of the Frederick Elliott watercolours… and all that tape!
There was no way that ‘Snapshots’ could travel or be displayed safely in its current condition. Therefore the aim of the treatment was to:
- Remove all tape and adhesive
- Clean off the dirt
- Remove acidic and non-original components
- Reattach the watercolours to the window mount safely
- Frame it for safe display
Step 1: Separating the watercolours
The watercolours were carefully separated from the window mount. This revealed more of the watercolours, inscriptions and extensive adhesive. It seems whoever assembled all the watercolours with the mount in the past used liberal amounts of animal glue, which had yellowed and become brittle over the past 100 years. The backing boards were found to be slightly larger than watercolours they were attached to. We inferred that this action was likely not done by the artist. This was really apparent on the large circular central watercolour, where a lot more of the artwork was revealed.
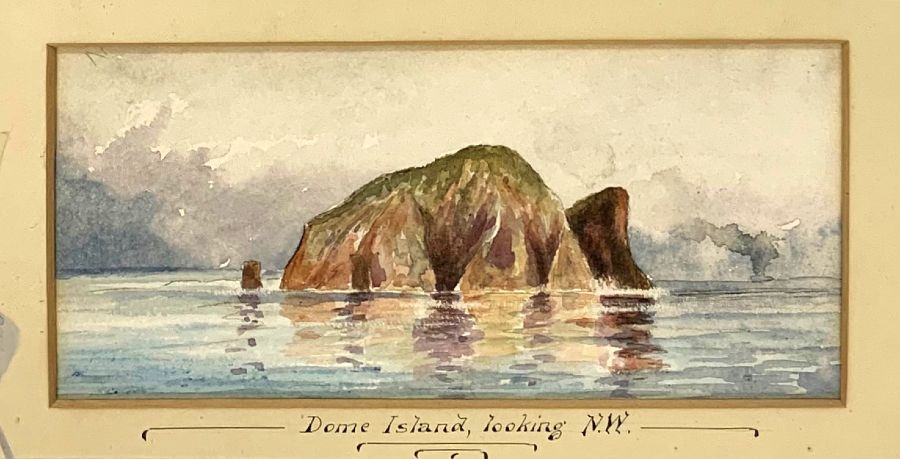
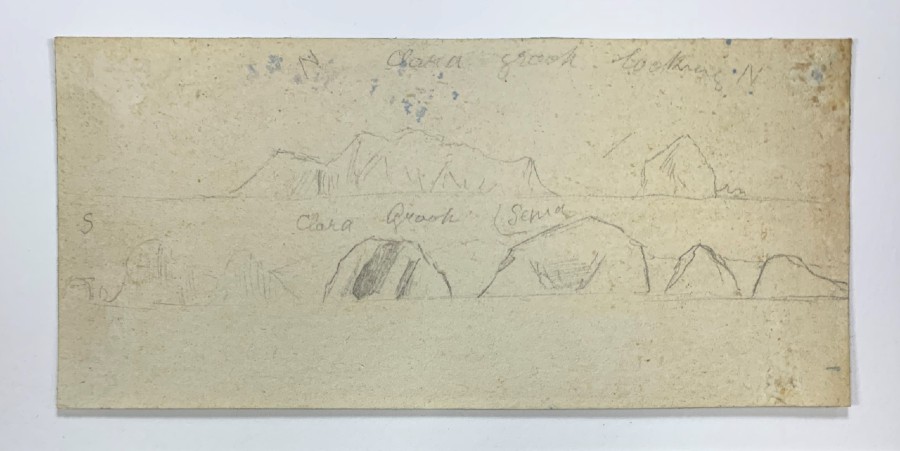
Small watercolour of ‘Dome Island looking N.W.’ before separation from the mount
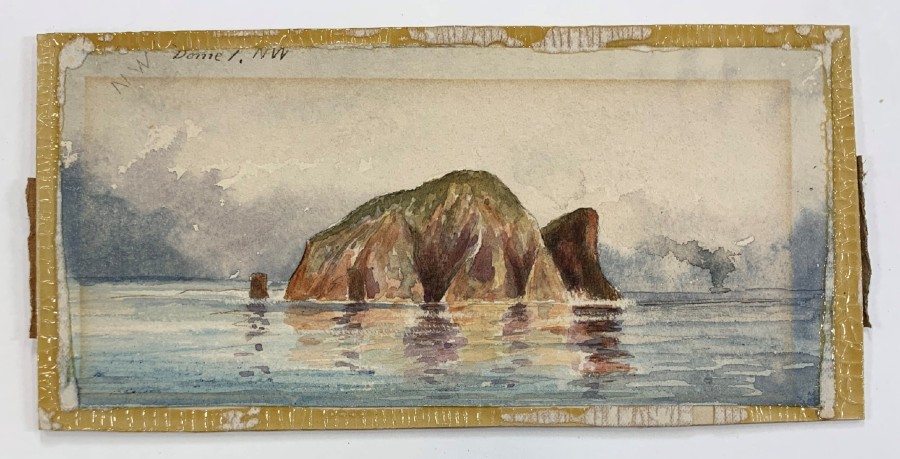
‘Dome Island looking N.W.’ after separation from mount – revealing more of the watercolour, a hidden inscription and yellowed animal glue
Step 2: Testing
We tested all the watercolour media, inks and graphite for solubility to see if they would change or be damaged if we introduced moisture during the treatment. We found the blue watercolour paints – which were on every artwork – were water soluble! Therefore, any treatment using moisture had to be very controlled.
Step 3: Dry cleaning
Any loose dirt was carefully brushed away with a soft brush. We then attempted to remove the ingrained dirt with a special conservation sponge. Some of it didn’t budge and this is now forever part of the objects history.
Step 4: Adhesive removal
The discoloured animal glue was brittle, starting to crack and disfiguring and damaging the watercolour paints and paper underneath. It was important to remove this to prevent further deterioration and make it easier to reassemble the work. It was removed with slow, gentle humidification to introduce moisture gradually. The adhesive was scraped off with swabs and a metal spatula.
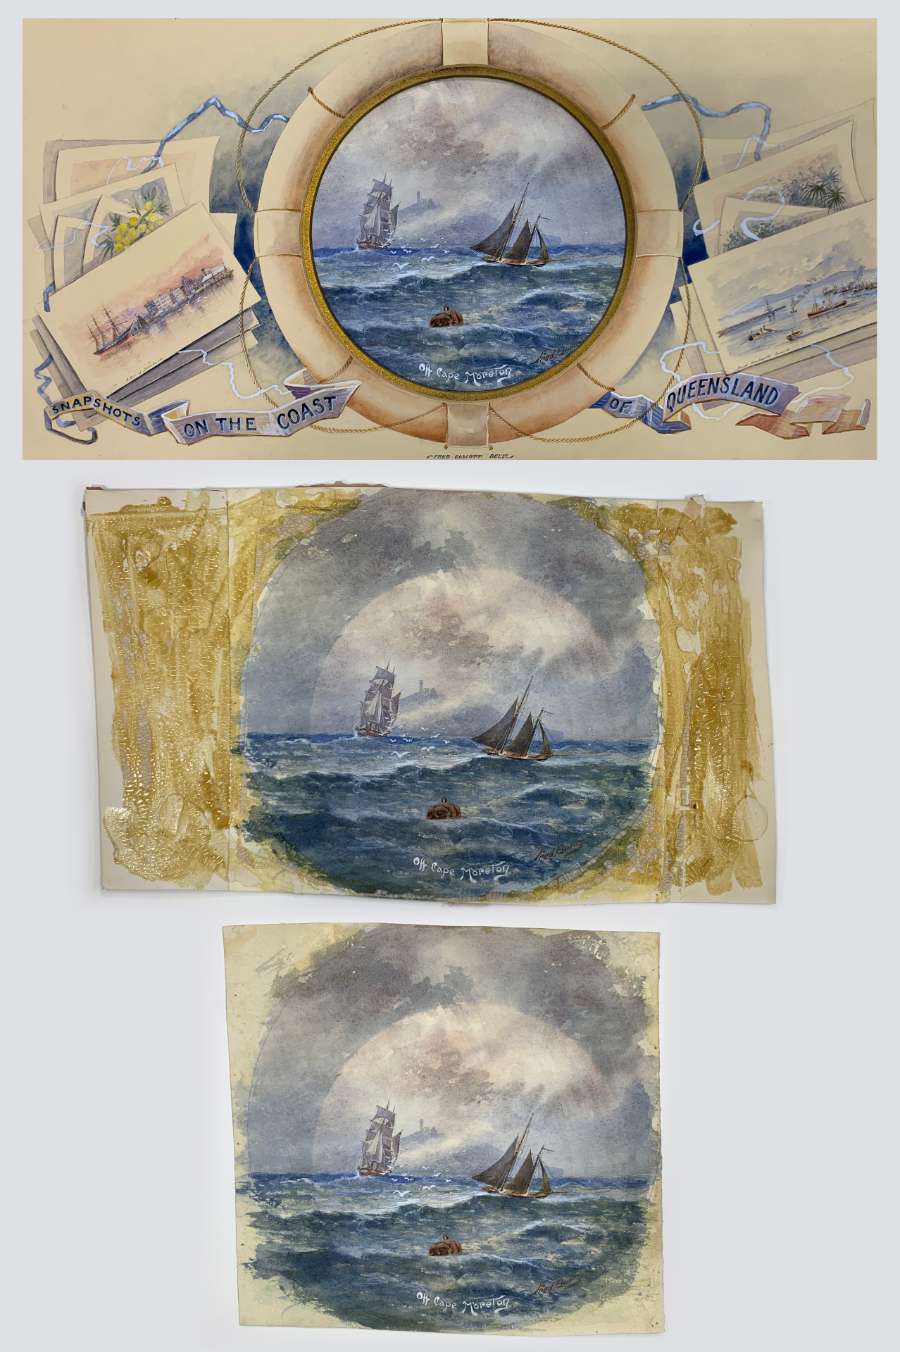
Large, central circular watercolour ‘Off Cape Moreton’ before separation from the mount. Second images shows it after separation revealing a huge backing board, more of the watercolour and A LOT of yellowed animal glue! Final image shows the watercolour after adhesive removal and backing removal – it is so much happier now!
Step 5: Backing removals
In discussions with Senior Curator Daina Fletcher, who helped this item be acquired to the National Maritime Collection, we decided to remove the highly acidic backing boards. These were unlikely to have been applied by the artist, were incredibly acidic and were showing extensive damage.
Each watercolour was slowly humidified using Gore-Tex over a few hours. The backings were gradually thinned with scalpels and spatulas. The final layer was humidified with a thick jelly like substance called methylcellulose, which holds moisture to the back surface so the water didn’t affect the watercolour paints.
Fun fact: Gore-Tex was originally created as a raincoat material by DuPontTM, but we use it for conservation! We borrow a lot of materials, tools and technology from other industries.
Definitely don’t try this at home! Timelapse of the backing removal from one watercolour revealing incredible hidden drawings and inscriptions
The 27 backing removals revealed incredible things – ink and pencil drawings, inscriptions and more watercolours. I might have been the first person in 100 years to see them!
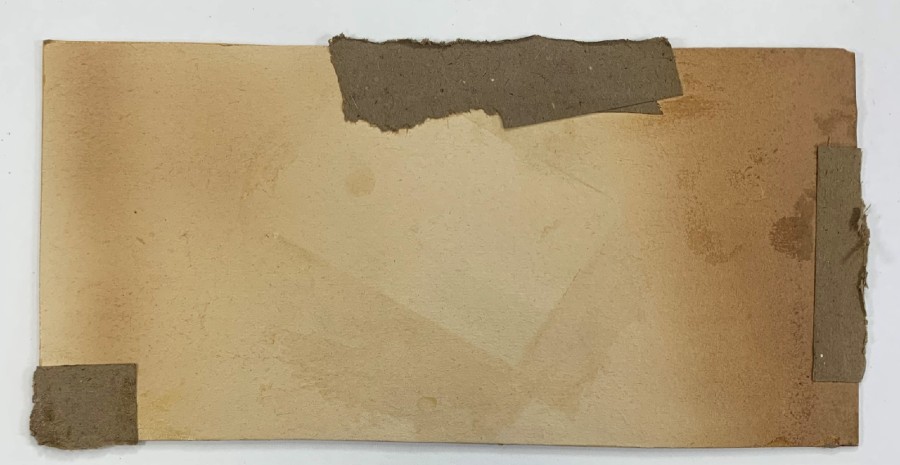
This is what the back of the watercolours looked like! You can see how discoloured and acidic the backing was and we were sure it wasn’t original!
After the backing removal, revealing hidden drawings and inscriptions!
Whether these were practice sketches done by the artist or early artworks which were started then discarded, it was a wonderful and surprising insight to the artist’s process.
When we shone light from below (known as transmitted light) we discovered different partial watermarks. When put all together it revealed ‘J WHATMAN 1886’. The watercolour paper had been made by this UK based paper mill in 1886 then found its way to Australia to be painted by the Australian artist Frederick Elliott in approximately 1900. What a find!
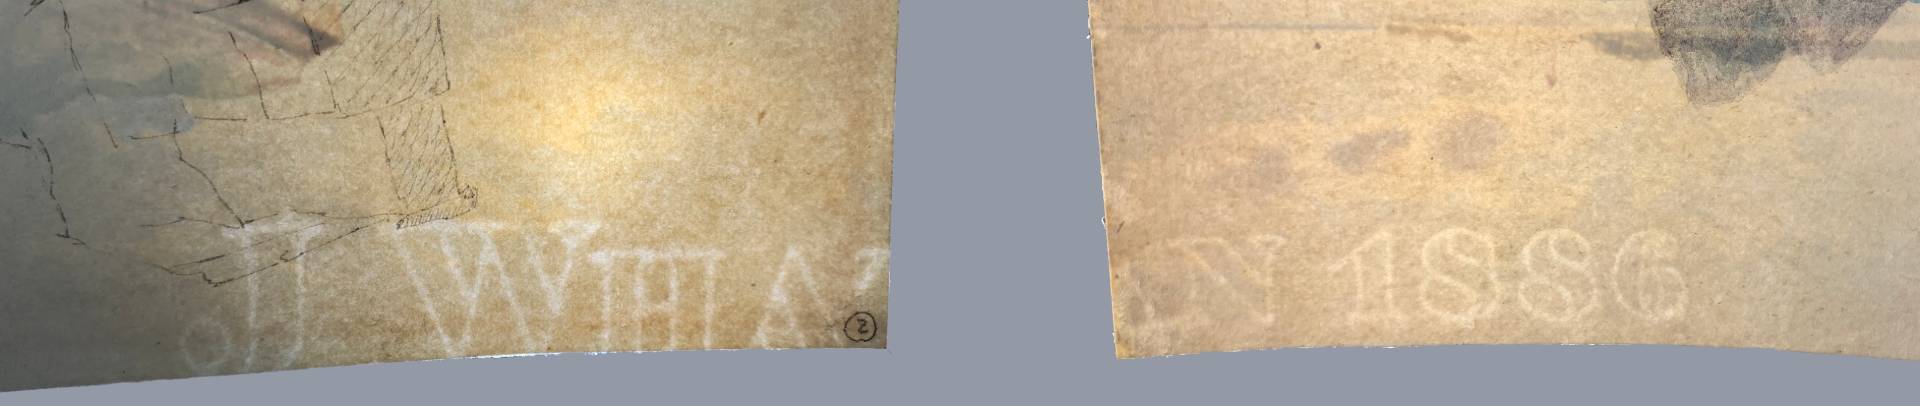
Using transmitted light to show the ‘J Whatman’ and ‘1886’ watermarks that were revealed after the backing removal
Step 6: Digitising
Before I reassembled the item, it was a great opportunity for it to be digitised. This meant that the previously hidden watercolours and drawings on the back could be digitised as well as the front. Thanks to the help of Kate Pentecost in Registration, each of the watercolours were scanned at incredibly high resolution and can now be viewed on the Maritime Museum Collection website.
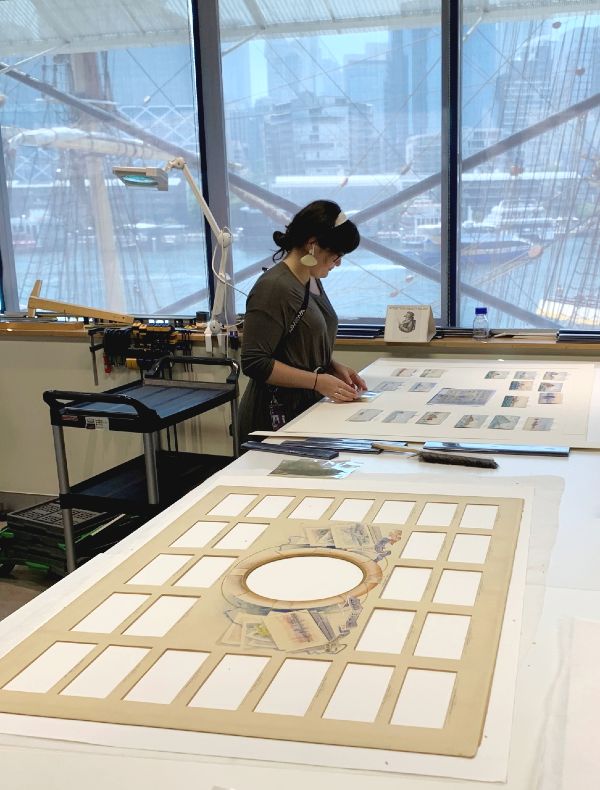
Step 7: Reassembling and mounting
Once digitised it was time to reassemble the 27 watercolours with their window mount and new conservation grade backing board.
Piecing all 27 watercolours back together like a jigsaw. Image Nicholas Flood
They were secured using reversible Japanese tissue paper hinges and wheat starch paste. The tissue and paste method are the bread and butter materials of the paper conservator. They are sympathetic materials that won’t change over time or negatively affect the original artwork and are removable, should future treatments need to take place.
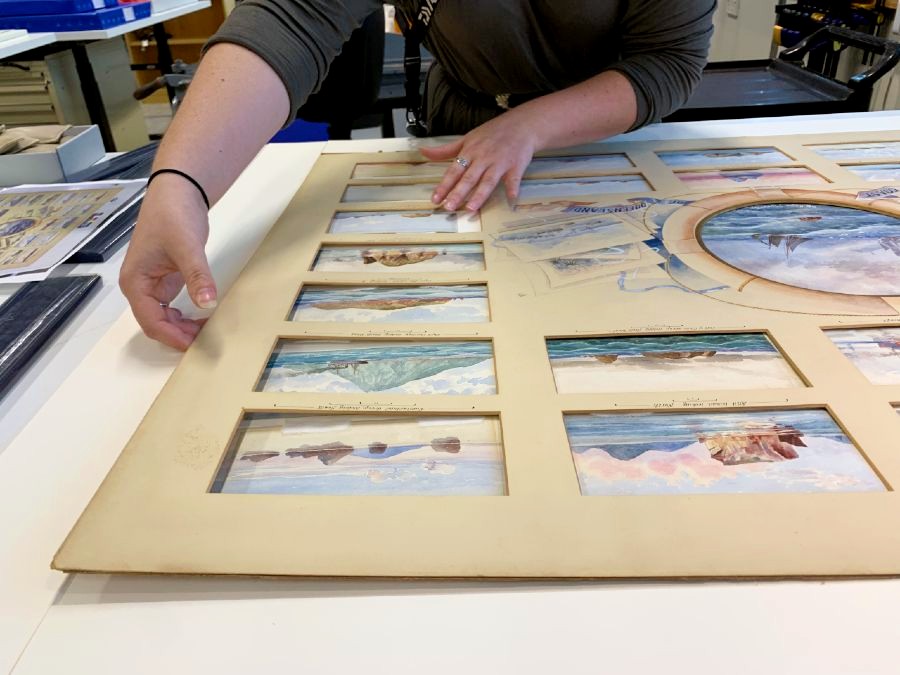
Carefully adjusting each individual watercolour so it sits under its window exactly as it did before. Image Nicholas Flood
Step 8: Final Framing
In conversation with the Mornington Peninsula Gallery, we decided that ‘Snapshots’ would be displayed in a frame on the wall. Frames made from conservation grade materials are a wonderful way to protect paper items from dust, insects, changes in temperature and relative humidity. They also prevent direct handling and have another layer of protection against light damage. Did you know that the acrylic we used as glazing has UV filters in it? It was now ready to go!
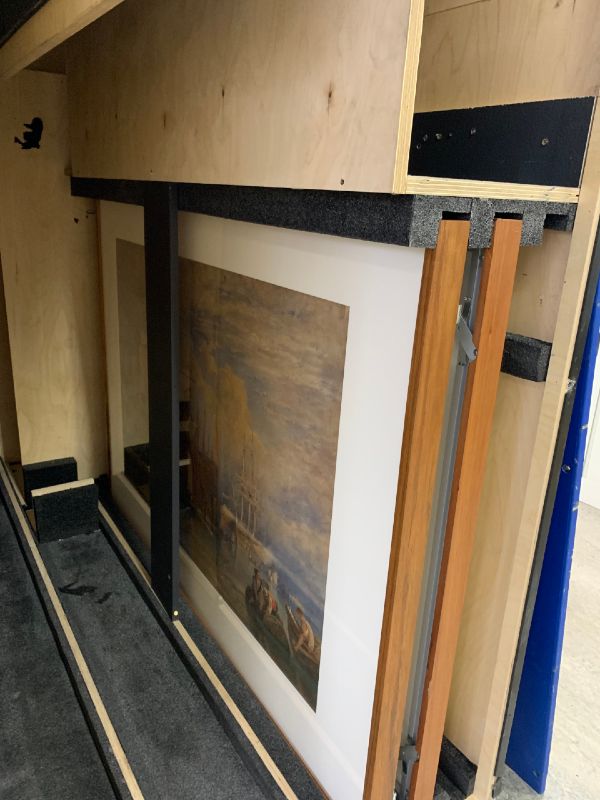
The framed loan items, including ‘Snapshots’ sitting snugly in the crate ready to travel to the Mornington Peninsula
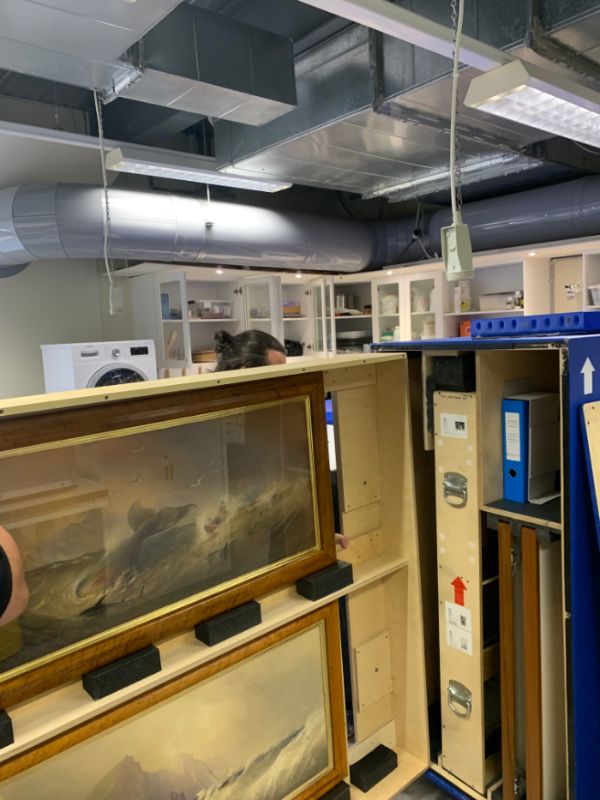
Final items going on loan slotted in to place so the crate can be sealed
Snapshots safe and sound
The conservation treatment occurred gradually over several months and took more than 100 hours of work. It was a complex and challenging process, which only made the final result that much more fulfilling. Preparing ‘Snapshots’ for loan was a delight. It was a wonderful opportunity to find out more about this rare and unique work, it revealed new information as well as improved its condition so the watercolours will last for years to come. We will continue our research in to this wonderful collection item.
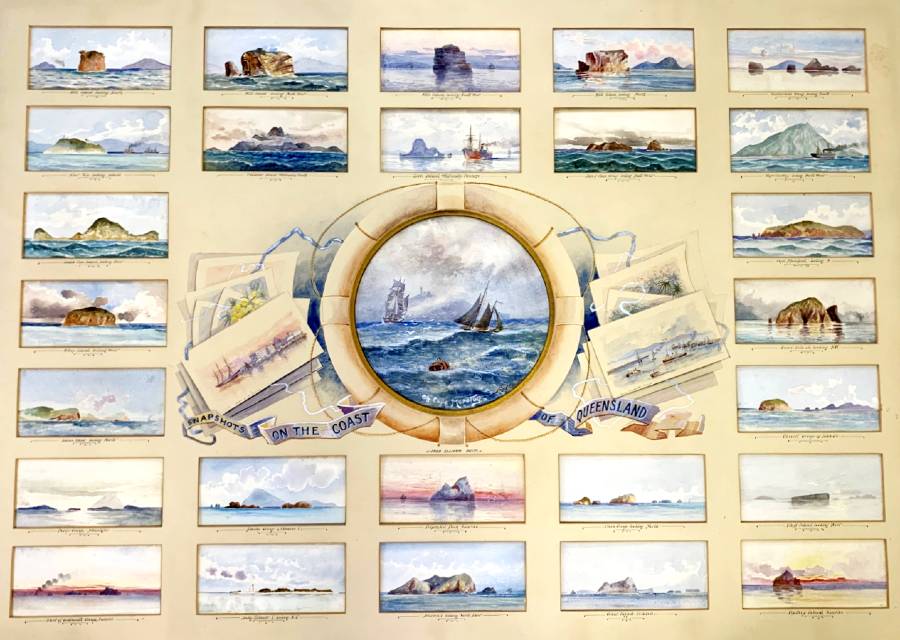
‘Snapshots’ all safe and sound after a major treatment
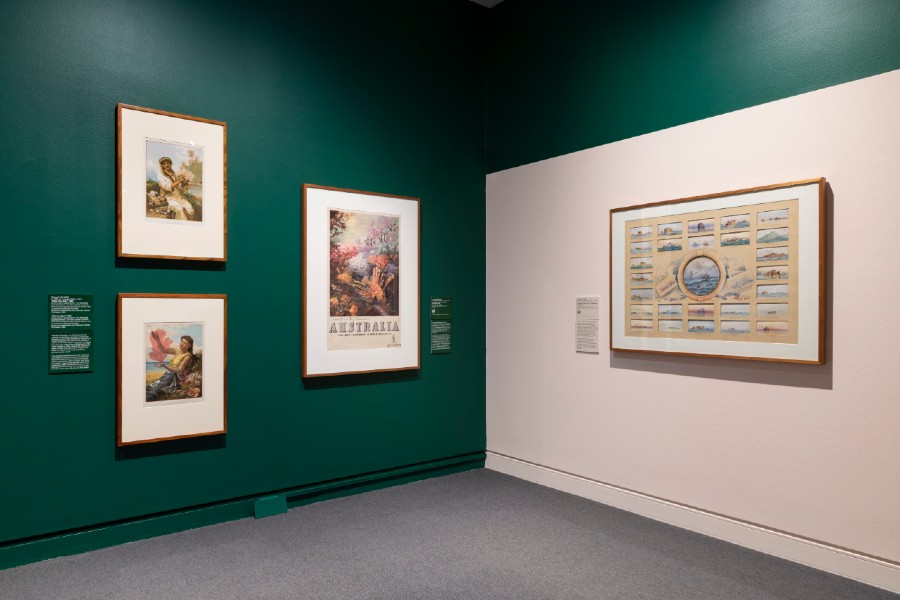
A snapshot of 'Snapshots' on display at the Mornington Peninsular Regional Gallery! Here it is on display alongside works by Samuel Calvert (purchased 1992) lent by the Museum of Applied Arts and Sciences, Sydney (left) and ANMM Collection item 00015139 (centre). Photograph courtesy of Mark Ashkanasy.