Ross Gibbs of We Can Build You (WCBY) is a traditional sculptor with a twist. Working as a professional sculptor for over 20 years, Gibbs recently revolutionised his practice by incorporating Virtual Reality (VR) and 3D printing to produce specific sculpting projects. In fact, Gibbs made three models for our upcoming Sea Monsters: Prehistoric Ocean Predators exhibition using this futuristic method.
Intrigued by this, I travelled to Lawson in the beautiful Blue Mountains to visit Ross at his studio to learn more about his career and how he created these prehistoric predators.
How did you begin working as a sculptor?
I trained as a sculptor at art college back in the 1980s and then went on to work as a window dresser at the department store Grace Bros (now Myer). This was the time when visual merchandising was all the rage and you could really have fun with it. I then worked as a sculptor and production manager for five years with Kodis Mannequins. While working in these two roles, I realised that there was no one specialising in commercial or industrial sculpting and there was a demand for this. To resolve this gap, I set up my own business, We Can Build You – a one-stop shop for all sculpting projects.
What type of items have you made over the years?
It’s really varied as people come to me when they can’t buy what they’re after off the shelf. So I’ve made items for Australian television shows, including puppets for Bananas in Pyjamas and bamboo and artificial legs for the World War II miniseries Changi. I have made quite a lot of 3D sign elements for Australian companies fitting out casinos in Macau, China.
I have also sculpted many original mannequins which have been cast and mass-produced for sale to fashion and retail outlets. In fact, WCBY sculpted mannequins are in use at department stores across Australia and in the United States of America. I even supplied some modified mannequins for Australian popstar Kylie Minogue’s ‘Showgirl’ Homecoming tour in 2007.
I've also made different things for the museum. The first thing I made were two reproductions of Roman coins in metallic powder for the 2017 exhibition, Escape from Pompeii: The untold Roman rescue. I then made various items for the outdoor exhibition Container. This included ‘Friendly Floatees’ – the plastic children’s bath toys that fell into the Pacific Ocean from a container ship during a storm in 1992; a model of the CSIRO Investigator; scale models of container ships from 1950 to the present day; a 2-metre long blue whale; 3D components for a sign; and a set of 20 fire ants.
I recently finished making models of a Kronosaurus, Elasmosaurus and Tylosaurus, and two interactive leatherback turtle shells for Sea Monsters: Prehistoric Ocean Predators.
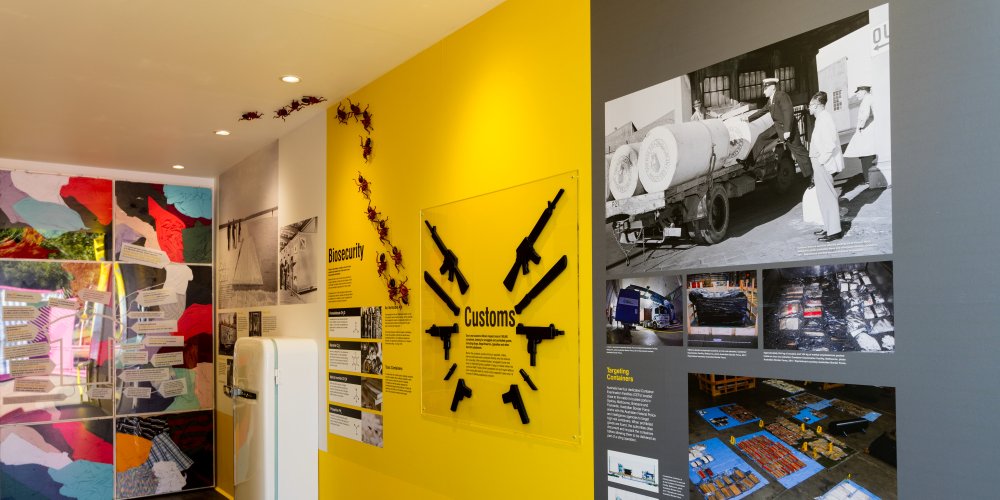
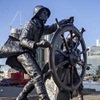
The fire ants and fake plastic guns were just some of the objects Ross made for Container. Image: Andrew Frolows ANMM
How do you sculpt using a VR headset? Was it hard to incorporate this method into your work?
This is the first thing I’ve ever used where I didn’t really have to learn it – I put the headset on and it works the way I think. Using the software program Medium, I have a radius of tools that I can select from, sizing components and I’m able to add and subtract as I go. So I’m able to hold the controllers in my hands and sculpt like I would traditionally – moving the material around like its clay, adding and subtracting as I go.
So if I want to make a head with two balls for eyes, I just make a sphere with the clay tool and then add two additional spheres. If I want to reshape these, I can use the smudging or dragging tools and manipulate it in the same way as if I was doing it physically. I’m much happier when I can pick something up, hold it and turn it around and that’s exactly what sculpting is in VR.
How did you start working on the three monsters?
Originally I was going to sculpt the sea monsters by hand – so I would have sculpted them in clay, taken a mould, used fibreglass and then added all the final details. I realised though that the heads would be almost impossible to get out of the moulds successfully, and using the VR and 3D printer would be the better way to go.
In this video Ross scales the Elasmosaurus up and down, making sure the profile of the prehistoric predator is correct.
Video courtesy: We Can Build You
How did you decide on the details and colours for the monsters?
I worked in conjunction with Dr Espen Knutsen, Senior Curator Palaeontology at the Queensland Museum Network, and with staff at the Australian National Maritime Museum. Dr Knutsen knew how the creatures should look and exactly where all the features needed to be placed. For instance, when I finished the Tylosaurus and I sent it to Dr Knutsen to check, he looked at it and said ‘it looks fantastic but you’re missing another set of teeth that sits in the roof of its mouth.’ Now if I had sculpted that in clay and made the mould, I would have had to pull it apart and fix it which would have taken a lot of time.
But because I sculpted it digitally, I was able to scale the Tylosaurus’ mouth up to the point where I was working inside its actual mouth so I could add the extra teeth. It was just like working in a bonnet of a car – just more bizarre.
We had discussions about the colours of the monsters. We chose brown for the Tylosaurus as it was almost crocodilian in nature and would have likely camouflaged into the estuaries it habited. The Elasmosaurus probably wasn’t a top predator and is banded like a sea-snake; whereas the Kronosaurus is based on a killer whale.
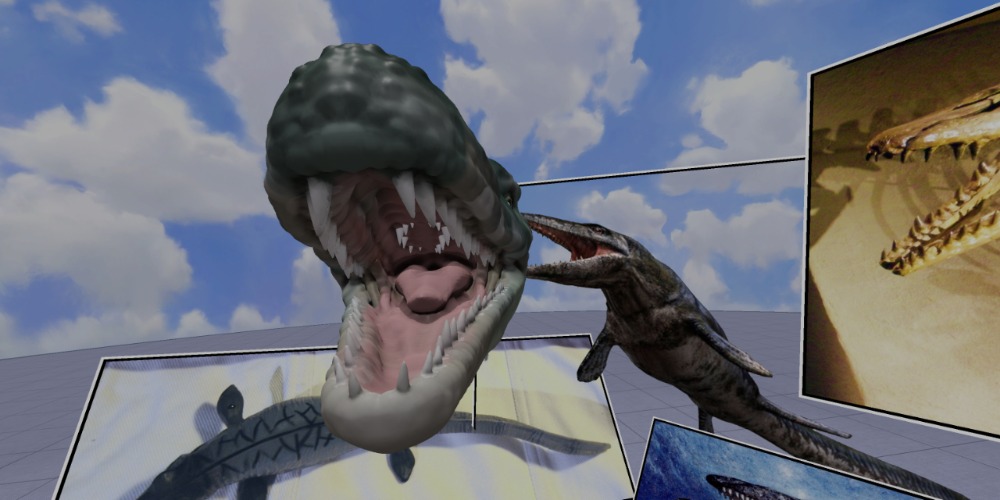
The Tylosaurus with its two sets of teeth. Image: We Can Build You
Once the monsters were approved by Dr Espen Knutsen, what did you have to do next?
Printing! I ran some test prints to make sure they would print correctly. A lot of fiddling was involved as I had to get the scale right on the 3D printer. Because the dinosaurs are 1.2 metres long and the print-bed is only 20cm long, each piece had to be broken up into sections and printed one at a time.
Once all the pieces were printed I just had to assemble them and paint the final details.
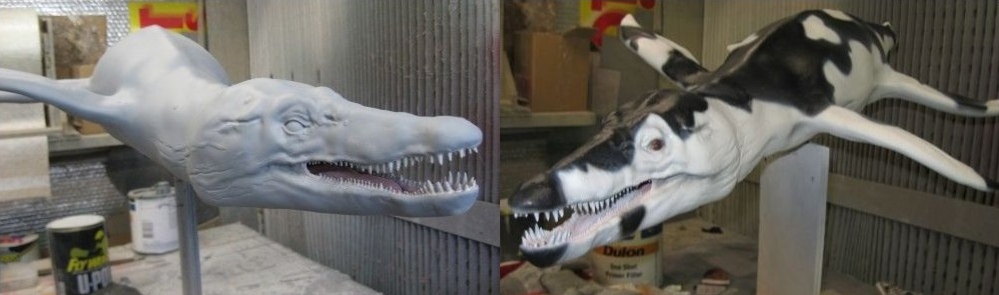
The model Kronosaurus before and after it was painted. Image: We Can Build You
What was your favourite monster to make?