
Pete Illidge measures the cannons at site KR12 while Renee Malliaros records information on an underwater slate. Image: Julia Sumerling/Silentworld Foundation.
Flush with the exhilaration of discovering site KR12 and the ship’s bell, the team set to work the following morning (16 January) to document finds. John, Jacqui, Pete, Renee, Lee and Jules entered the water and conducted a baseline offset survey of the site, followed by detailed recording of the cannons and anchors. Jules then took close-up photographs of each anchor and cannon while Lee carried out a photogrammetric survey of these and other features, including the rudder hardware found in association with the bell.

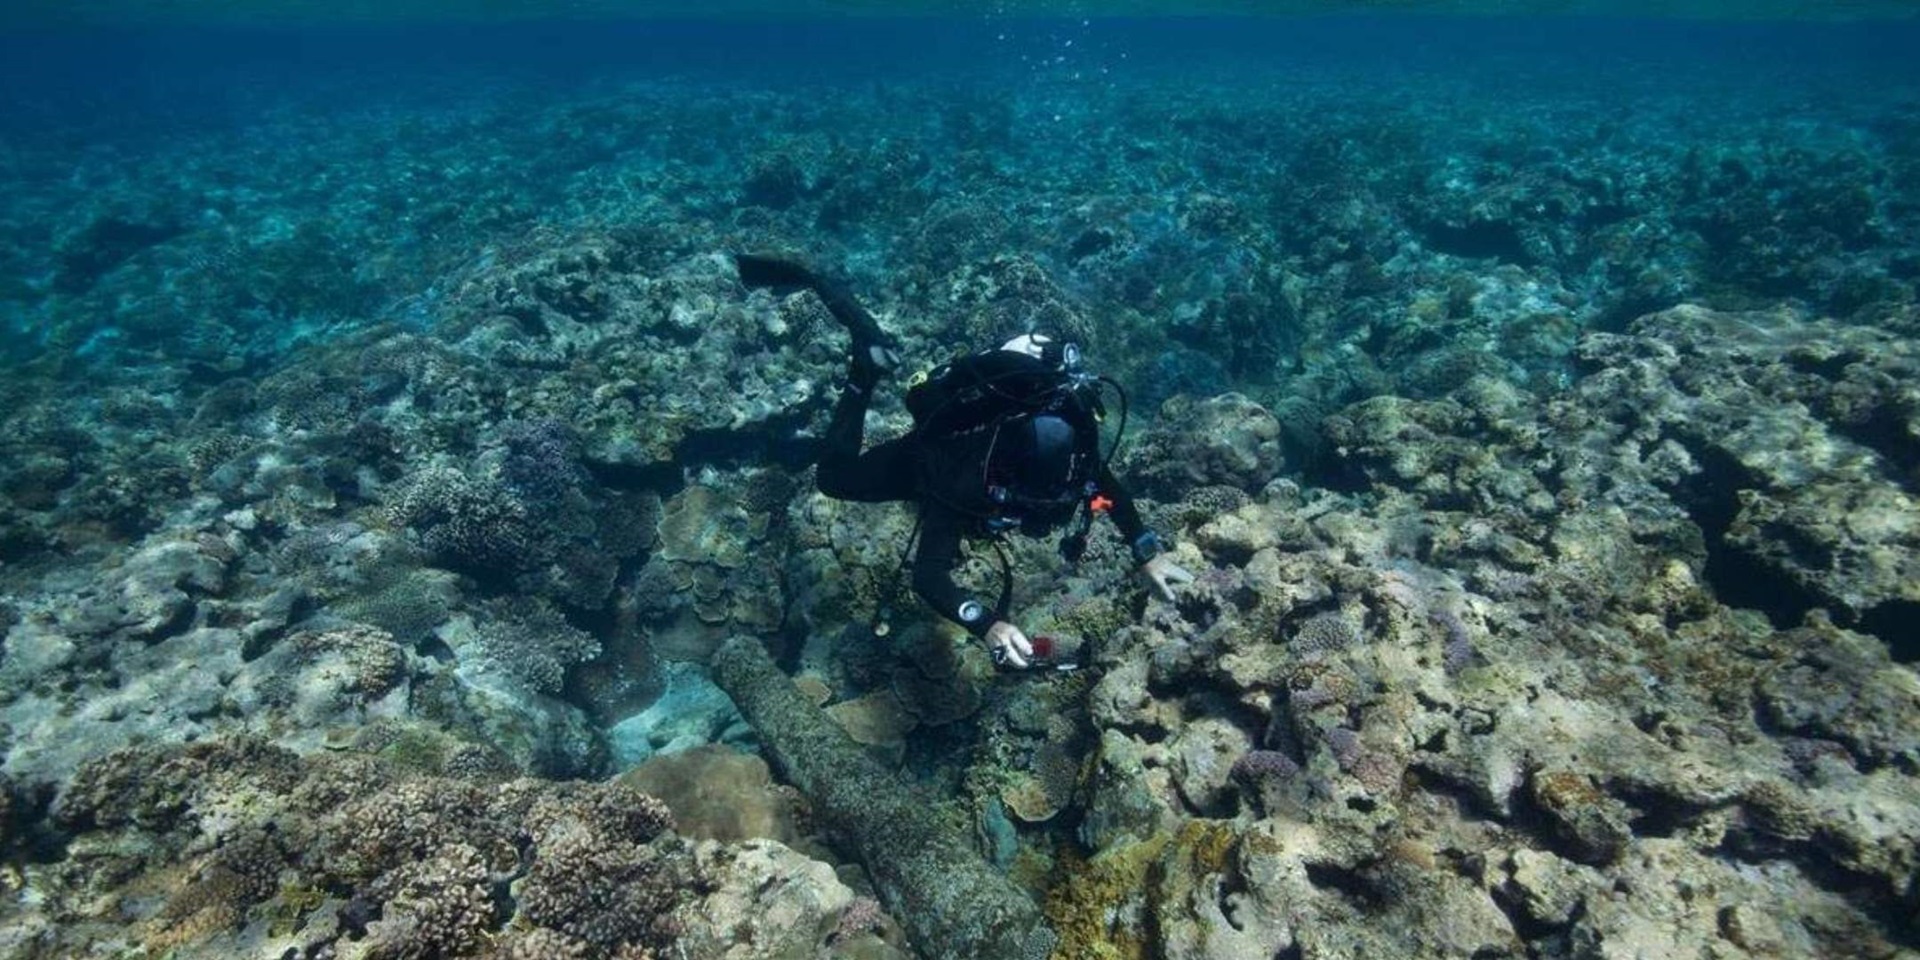
Lee Graham conducts a 3D photogrammetric survey of one of the KR12 cannons. Image: Julia Sumerling/Silentworld Foundation.
While the dive team recorded KR12, Paul and I embarked aboard Maggie III with the goal of re-locating a magnetic contact detected on 14 January in the immediate offshore area southeast of Observatory Cay. The target produced a promising magnetic signature, and while in relatively close proximity to KR12, was clearly separate and unrelated. However, upon returning to the anomaly’s recorded GPS coordinates, nothing was detected with the magnetometer. Additional transects were then run around the GPS plot, and resulted in the discovery of a promising magnetic anomaly a short distance to eastward of the first contact. The new anomaly’s presence was confirmed with two additional passes, and its position marked with a buoy.
The team then headed to the ‘toe’ at the far western extremity of the Kenn Reefs system. This is a relatively small, roughly circular fringing reef with a sand cay at its centre. Sections of a modern steel hull — including the bow and what appears to be part of a freezer room — were visible above the low-water mark on the western side of the sand cay, and are remnants of Ozuru Maru No. 18, a Japanese fishing vessel wrecked in the early 1980s.
Contemporary photographs reveal Ozuru Maru No. 18 originally grounded on the outside of the fringing reef. In subsequent years, the hull broke up and the sections visible today were pushed onto the sand cay. Warren Delaney and Brook Batley noted during their 1987 survey that portions of the midships and stern protruded from a shallow lagoon immediately to the southeast of the sand cay, but these features are no longer visible above water. Given the dispersed nature of the shipwreck, the team expected to encounter at least a handful of magnetic anomalies, and were surprised when none were detected (despite conducting a complete circumnavigation of the reef).
With the ‘toe’ surveyed, Maggie III and its intrepid crew returned to the lagoon and resumed the search for Hope. To compensate for Hope’s small size and anticipated low magnetic signature, the space between survey lanes was reduced to 15 metres. John and Pete joined the team and Pete deployed a side-scan sonar to operate in tandem with the magnetometer.

An infographic showing a side-scan sonar in operation. Image: James Hunter/ANMM.
Side-scan sonar is a form of remote sensing equipment that uses sound waves to create an image of large areas of the seafloor. The sonar is encased in a waterproof tow-fish, and either mounted to a vessel’s hull or towed behind it. As the device moves through the water, it emits conical or fan-shaped acoustic pulses from sensors on each of its sides (hence the term ‘side-scan’ sonar). These pulses travel down to the seafloor and are reflected back as they encounter solid objects. They are then picked up by the tow-fish and digitally processed into a visual image.
Because it produces quick, accurate images of large areas of the seafloor, side-scan sonar can be incredibly useful to maritime archaeology. This is especially true of waters that are too deep or murky to be inspected by divers or cameras. For these reasons, side-scan sonar is one of the most common tools used to conduct shipwreck and submerged site surveys. Unfortunately, Pete encountered technical difficulties with his computer and tow-fish, and after a few unsuccessful attempts to get the sonar working, the team recovered it and resumed the survey with just the magnetometer. In the end, a sizeable portion of the lagoon was investigated, but unfortunately no promising magnetic anomalies were detected.
While the magnetometer team was diligently ‘mowing the lawn’, the dive crew relocated to the buoyed anomaly and entered the water to search for its source. Within moments, the faint outline of a heavily-encrusted anchor was spotted on the seabed. Closer inspection revealed it to be a unique nineteenth-century variant known as a ‘Porter’s Patent’ (or simply ‘Porter’) anchor.

The large Porter’s Patent anchor discovered at site KR13 was so encrusted with coral it was barely recognisable. Image: Julia Sumerling/Silentworld Foundation.

Pete Illidge inspects KR13’s small Porter anchor. Note that one of the arms is locked against the shank, suggesting the anchor was ‘picked in’ when lost. Image: Julia Sumerling/Silentworld Foundation.
Designed by British inventor William Porter in 1838, and adapted from a similar pattern patented in 1822, the Porter anchor was intended to combine light weight with good holding qualities. To this end, the anchor’s construction comprised two parts—a shank ending in a fork at its bottom end, into which the other section consisting of the crown and arms was inserted. The two components were held together by a large bolt that allowed the crown and arms to swivel from side to side. When set, one arm would dig into the seabed, while the other locked against the side of the shank. A protrusion on the outside of each arm called a ‘horn’ ensured the arm closest to the seabed would open and hold ground.

A nineteenth-century illustration of a Porter anchor in use, showing one arm set in the seabed and the other locked against the shank. Image: Alexander Jamieson (1843), Report on the Mechanical Properties of Porter’s Patent Anchor, Manufactured at the Dunston Anchor Works, Gateshead, Durham. London: Joseph Masters, Frontspiece.
A smaller Porter anchor was located a short distance away in a gully, confirming the existence of a fourth previously undocumented shipwreck site (designated KR13). The team noted both anchors have one arm locked against their respective shanks, which suggests they were deployed and ‘picked in’ when lost. Yet another unusual anchor was discovered approximately 16 metres away in a different gully.

The Rodger’s Patent Pickaxe Anchor discovered at site KR13. Image: Julia Sumerling/Silentworld Foundation.
Known as a ‘Rodger’s Patent Pickaxe Anchor’, it features a spindly shank and arms without palms (i.e., flukes) that end in simple pick-shaped points (hence the name). Designed by British naval officer Lieutenant William Rodger in 1830, the pickaxe anchor had poor holding power and was soon replaced by another of Rodger’s innovations, the ‘Patent Small-Palmed Anchor’.

A nineteenth-century schematic of Rodger’s pickaxe anchor. Image: George Cotsell (1856), A Treatise on Ships’ Anchors. London: John Weale, Plate 6.
The presence of a Rodger’s pickaxe anchor at KR13 is unusual, given it was an unpopular design and the majority of known shipwrecks at Kenn Reefs occurred two decades after it was superseded by Rodger’s small-palmed variant. However, due to their great cost, it was not uncommon for old and/or obsolete anchors to remain in use aboard ships for several years. The possibility also exists the anchor was stowed in the hold as cargo or ballast.
The gully containing the Rodger’s anchor yielded additional surprises, including two iron cannons, a multitude of copper-alloy fasteners, hardware and sheathing fragments, several large unidentified iron bars, and a funnel-shaped lead object that may be a scupper for a shipboard water catchment system. Both cannons were largely overgrown by coral, but at least one showed clear evidence of damage—including a missing muzzle and large gash near its breech. The damage to the cannon is certainly curious, as it does not appear to have been in consequence of the wrecking event or subsequent natural processes. A more likely scenario is that the gun was broken before it ended up on the reef. It was common for disabled cannons to be used as ballast or scrap metal, and the example from KR13 may have been used in this manner at the time it was lost.

Several other artefacts and features were found in association with KR13, including iron bars and blocks (centre) and a funnel-shaped lead scupper (top left) that may have been used as part of a water catchment system. Image: Julia Sumerling/Silentworld Foundation.
During the second half of the day, the dive team completed mapping and photographing ‘Morgan’s anchors’ at site KR11, and then documented KR13. On the following morning (17 January), a small group comprising Lee, John, Jacqui, Pete, Jules and I hopped aboard Valiant and motored to the eastern extremity of the ‘foot’. The mission: to make one final attempt at relocating site KR6—the small Admiralty Pattern anchor thought to be associated with Bona Vista.

Jacqui Mullen (top right) and Renee Malliaros document one of ‘Morgan’s anchors’ at site KR12. Image: Julia Sumerling/Silentworld Foundation.
Upon arriving at the site’s projected location, the team encountered tremendous current associated with a flood tide running across the reef, and realised it was impossible to swim against. Consequently, John, Pete, Lee and I used DPV’s (Diver Propulsion Vehicles) to search for the anchor, but the effort ultimately proved unsuccessful. Pete found a modern ceramic plate, but no other artefacts or features were encountered.
In the early afternoon, the team returned to Silentworld to demobilise and pack equipment. As sunset approached, the vessel got underway and began the return voyage to mainland Australia. The team was certainly downcast at having to leave the remote, untouched beauty of Kenn Reefs, but incredibly satisfied by the impressive amount of work it accomplished in a relatively brief span of time. It was clear that all were also eager to begin the process of identifying and interpreting the many shipwrecks they had visited, and sharing the fascinating stories each has to tell.
Explore more about the museum’s maritime archaeology initiatives on our blog.
With thanks to our maritime archaeology program partners, Silentworld Foundation.