Two years after Sydney first arrived in Australia, the merchant vessel Steiermark was launched at the Kiel-based shipyard of Friedrich Krupp Germaniawerft. Originally intended to operate on the East Asia route for the Hamburg-Amerikanische Packetfahrt-Actien-Gesellschaft (Hamburg-America Line), Steiermark had just completed sea trials when the Second World War began, and was acquired by the Kriegsmarine shortly thereafter. It was one of nine merchant ships specially selected for conversion into what were alternately described as Hilfskreuzern (auxiliary cruisers) or Handelsstörkreuzern (commerce raiders), and was both the largest and most modern vessel in the group. Steiermark’s modifications included installation of camouflaged weapons, construction of prisoner accommodation, and outfitting with equipment with which to modify its appearance and masquerade as other merchant vessels.
Of the nine merchant ships specially selected for conversion into auxiliary cruisers, it was both the largest and most modern vessel.
Command of the vessel was given to Korvettenkapitän (Commander) Theodor Detmers, who renamed it Kormoran after the First World War German commerce raider SMS Cormoran. It was also known by the administrative designations Handelsstörkreuzer (HSK) 8 and Schiff 41 (Ship 41). Following sea trials in September 1940, Kormoran was commissioned into the Kriegsmarine the following month, and departed for its first operational cruise on 3 December. The raider cleared German waters seven days later, and its appearance altered to that of the Soviet freighter Vyacheslav Molotov. Detmers steered a northerly course around Iceland and through the Denmark Strait in an effort to avoid a Royal Navy blockade and Allied naval patrols. The strategy worked, and Kormoran entered the Atlantic Ocean without incident during the latter half of December.

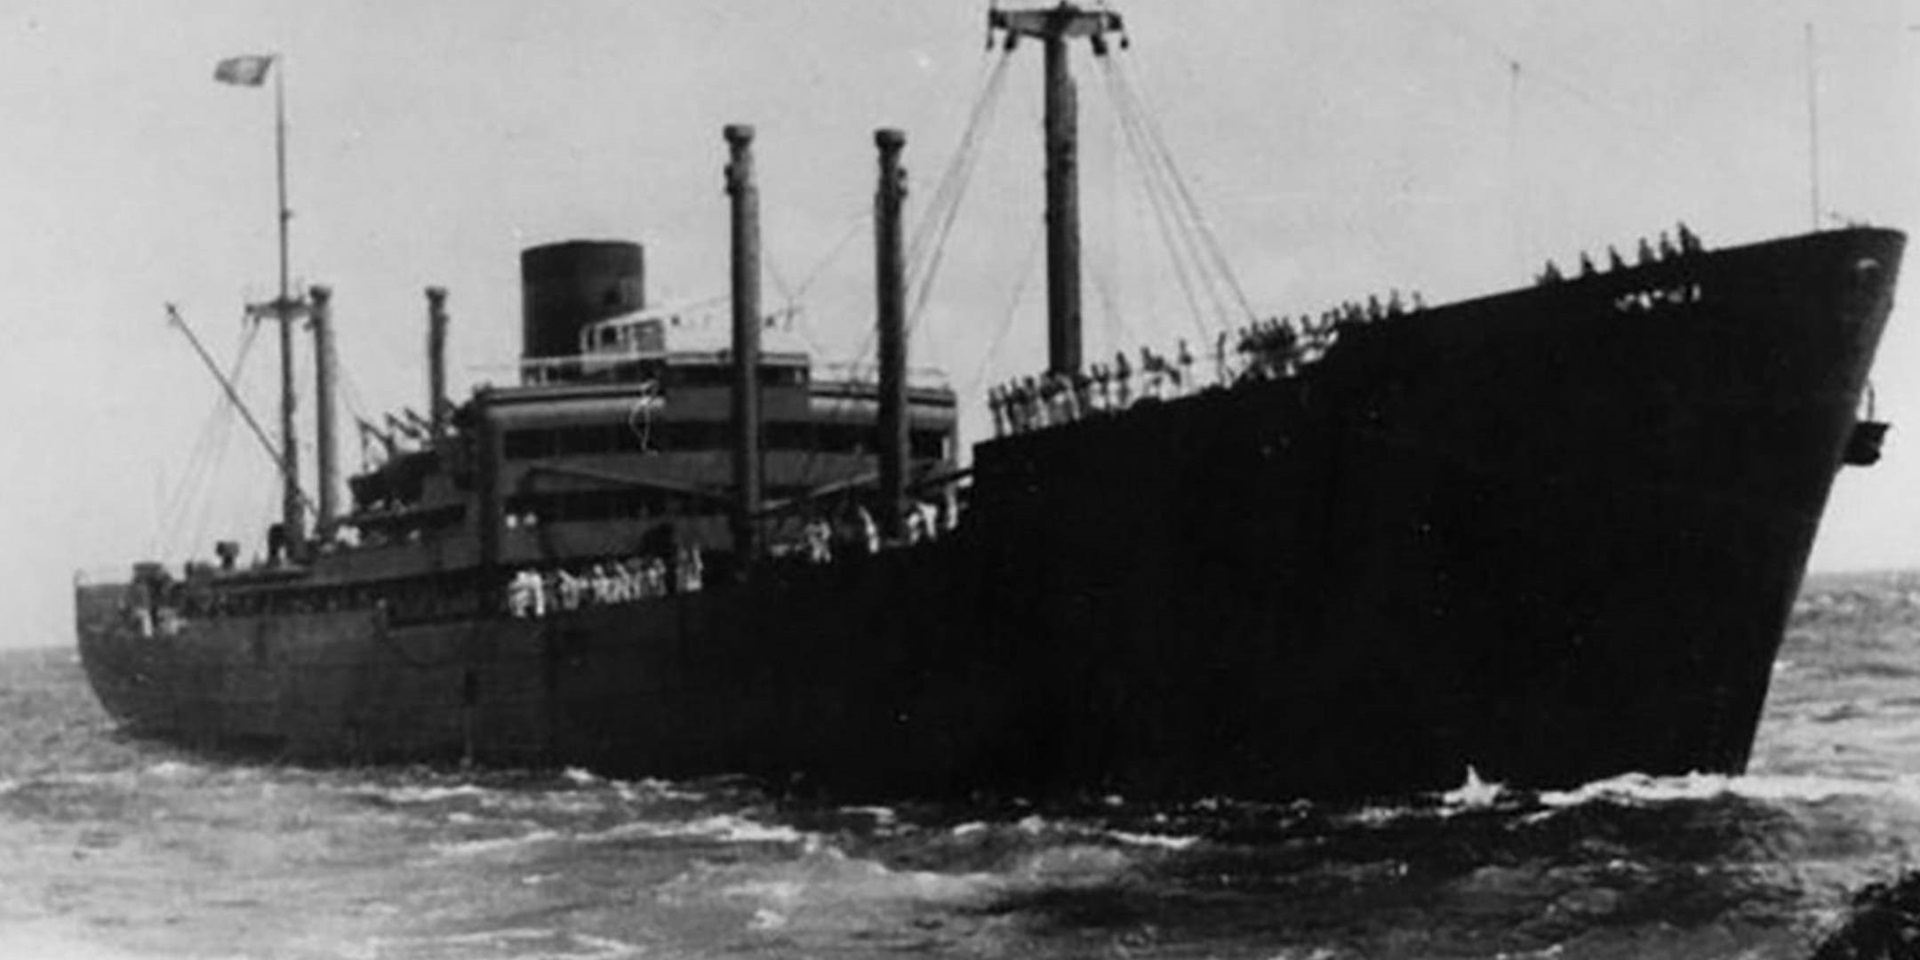
The Japanese merchant vessel Sakito Maru was one of Kormoran’s many disguises. Image: Steve Lawson/Bathymetric Research.
Kormoran’s Commerce Raiding Operations
For the next four months, Kormoran patrolled the mid-Atlantic, searching for Allied merchant vessels. Its first victim, the Greek freighter Antonis, was not technically an enemy ship (Germany was not yet at war with Greece), but was carrying Allied weapons and cargo. These were seized and the ship scuttled. The raider then moved south along Africa’s west coast, searching for merchant craft that were operating outside convoy routes and less likely to have warship escorts. It encountered its next victim, the tanker British Union, on 18 January 1941. In the engagement that followed, British Union was damaged by shellfire from Kormoran, but returned fire when the raider closed to within 4,000 metres. Detmers ordered an intense barrage of retaliatory shelling that set the tanker ablaze and forced its crew to abandon ship. British Union was torpedoed and sunk shortly thereafter, and survivors in two lifeboats were rescued by Kormoran’s crew. Crewmen in a third lifeboat picked up by the Allies the following morning claimed Kormoran fired on the other lifeboats, but this was later refuted by those who were rescued by the Germans.
On 29 January, Kormoran intercepted and scuttled two vessels, Afric Star and Eurolychus, in quick succession. In each instance, their crews were captured and code books and other useful documents confiscated. Throughout February, the raider continued to move south and made a succession of rendezvous with the supply ship Nordmark, raider Pinguin, submarine U-124 and cruiser Admiral Scheer. Between 22 and 25 March, Kormoran interdicted two Allied merchantmen; the first, the British tanker Agnita, was scuttled while the Canadian tanker Canadolite was taken as a prize. The British freighter Craftsman was the raider’s next victim, and was heavily damaged by shellfire when its crew attempted to transmit a distress signal and return fire. Kormoran picked up survivors, used a torpedo to sink Craftsman, and fled further south. Three days later, it crossed paths with the Greek freighter Nicolaos D.L. and scuttled the merchantman after destroying its bridge to prevent transmission of distress signals. Towards the end of April, Kormoran rendezvoused with two other German raiders to replenish provisions, ammunition and crew, and to transfer off prisoners. It was then painted to resemble the Japanese freighter Sakito Maru.
Although they could not have known it at the time, their new assignment would result in the loss of their ship and the lives of several shipmates.
With his vessel’s appearance altered, Detmers set a course for the Indian Ocean. Kormoran patrolled off the east coast of Africa during May of 1941, then had its appearance altered to another Japanese merchant vessel and sailed north towards the Bay of Bengal in early June. Towards the end of the month, the raider encountered the Yugoslavian cargo ship Velebit and largely destroyed it with shellfire when it failed to surrender. Later the same day, Kormoran engaged, captured and scuttled a second Allied merchant ship, the Australian vessel Mareeba. After revising its camouflage yet again—this time to the Dutch freighter Straat Malakka—the raider attempted to lay minefields in the Bay of Bengal, but abandoned the effort upon hearing the British aircraft carrier HMS Hermes was operating in the same area.
Detmers set a new course for waters south of Ceylon and re-commenced patrolling for Allied shipping. On 23 September, Kormoran attacked the Greek freighter Stamatios G. Embiricos and captured it without incident. The freighter was then scuttled and its crew detained. Towards the end of October Kormoran’s prisoners were transferred to the Kriegsmarine supply ship Kulmerland, and the raider’s crew received orders to prowl the waters of Western Australia and lay mines in Shark Bay. Although they could not have known it at the time, their new assignment would result in the loss of their ship and the lives of several shipmates.
References
- Cover image: Kormoran resupplying a Kreigsmarine U-boat at sea, c. 1940. Source: Bundesarchiv, Bild 146-1985-074-27.