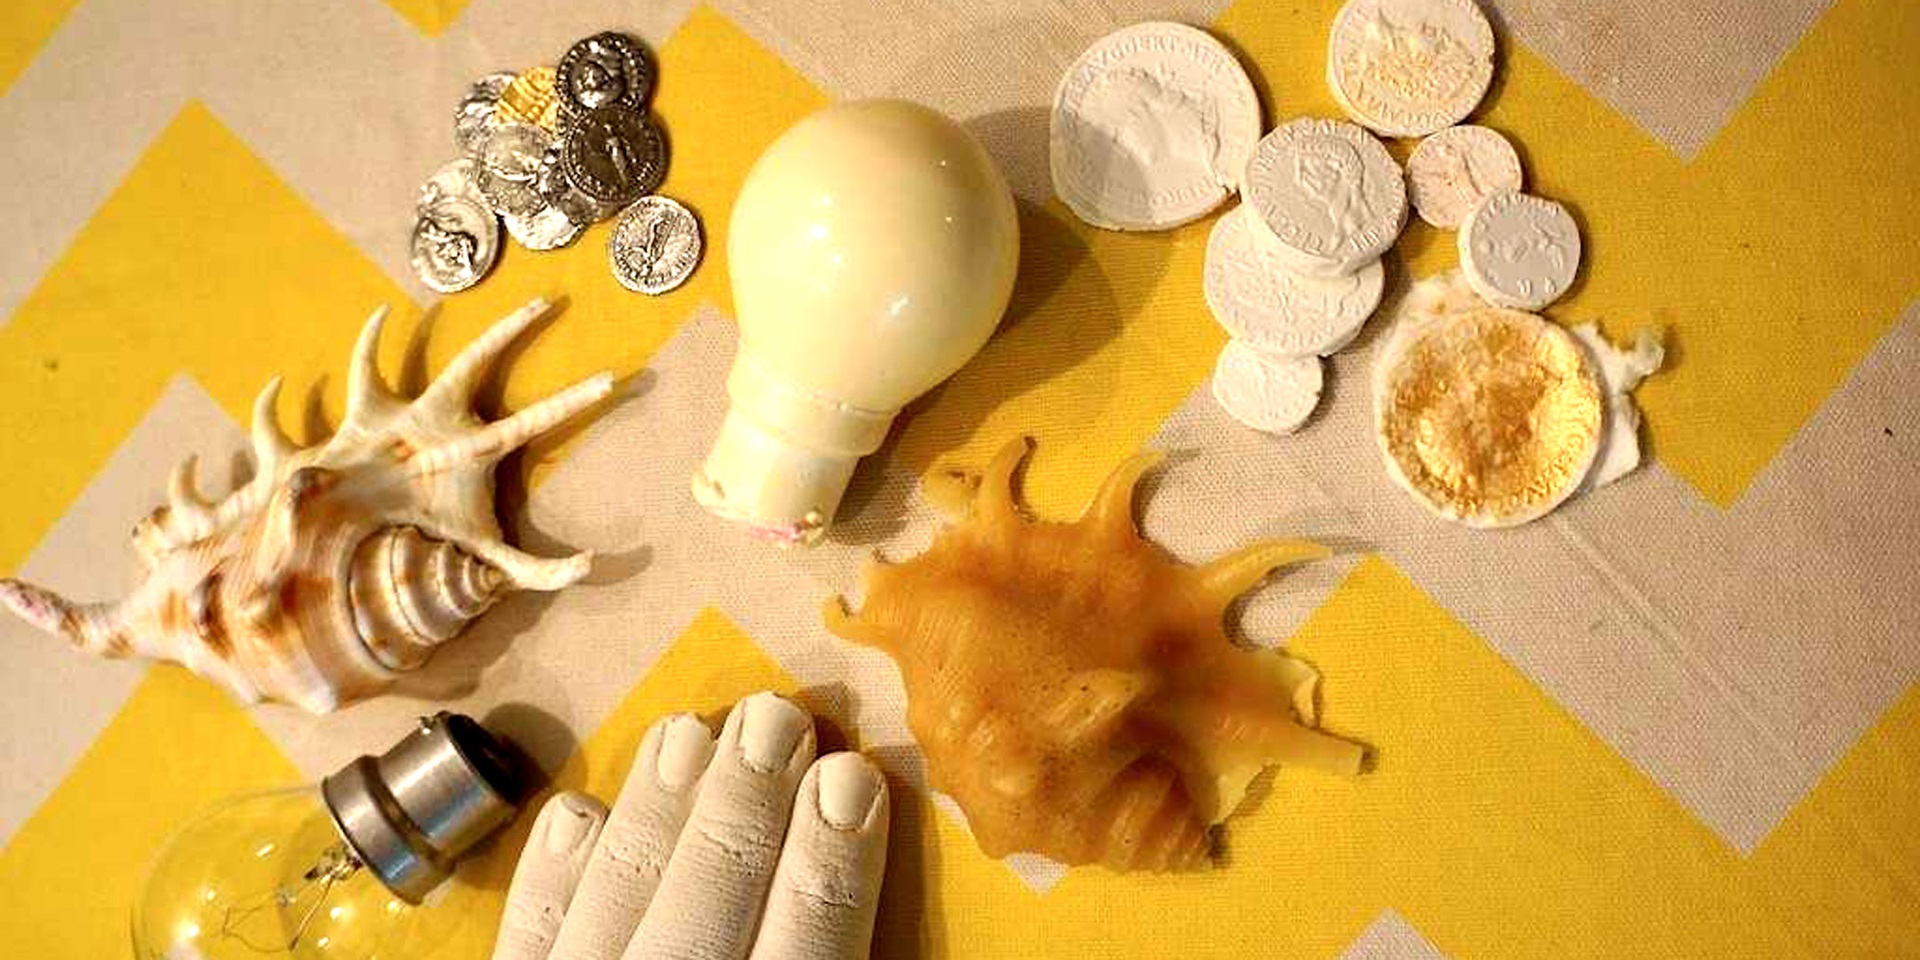
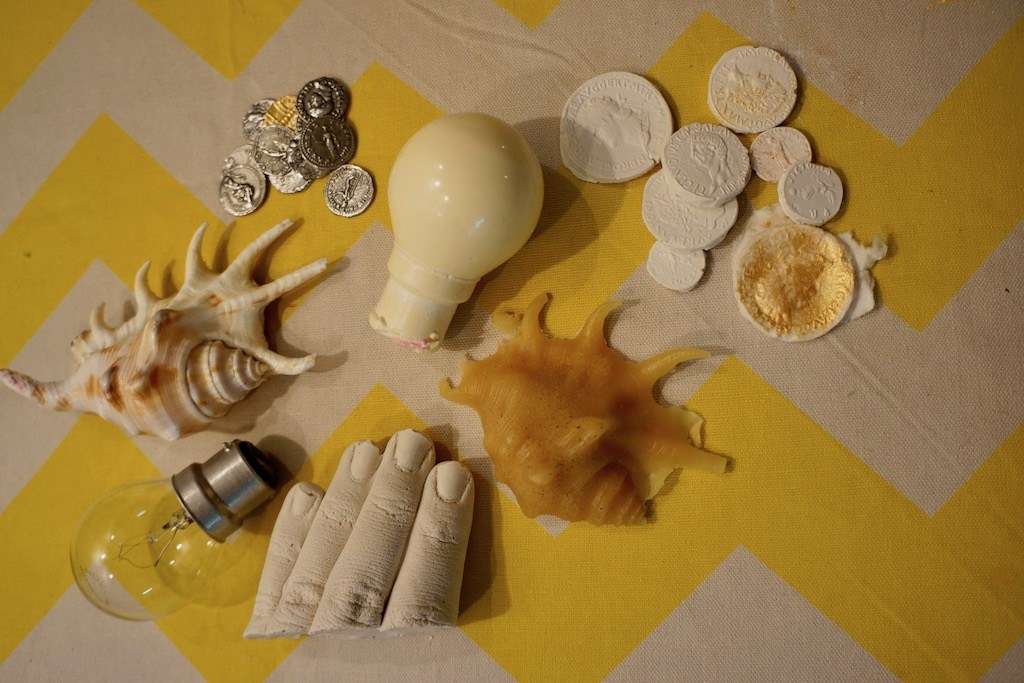
Casts, copies, the real and the replica. Image: Annalice creighton / ANMM.
Casting and mould making are simultaneously the stuff of specialised artistic and scientific endeavours and the backbone of mass production. From fountain heads and amulets to the haunting plaster figures that are now synonymous with this ill-fated city, this month’s craft spot is inspired by the use of casting and moulds in ancient times to create the artefacts that were featured in our previous exhibition Escape from Pompeii.

.")

The flows of fine ash that followed Vesuvius’ eruption created a kind of mould – a detailed hollow impression – where any organic materials once were. Casts have been produced from these ever since the clever Guiseppe Fiorelli, Director of the Excavations in 1864, decided to try pouring plaster into these mysterious hollows. This technique has enabled detailed body casts to be made of these first-century AD Romans in their final hour and has even been used to investigate the type of plants they grew in their gardens. Casting was also a common method of artistic production in the Roman Empire, from decorative rims to jewellery and mass production of statues.
Casting and mould making can be incredibly complex and challenging, but it can also be as easy as brushing on a piece of wet paper pulp or sticking your fingers into a cup filled with silicon. So here I’ve put together my favourite techniques for beginners, all easy, pretty cheap and with a range of materials from the craft box, the hardware store or speciality suppliers so you can pick and choose what level of effort and experimentation you’re up for. These are not the precise, technical methods that you would use for a beautiful lost-wax bronze sculpture but they are quick and easy for beginners of almost any age.
Set Up
You will need:
- A couple of plastic drop sheets and/or old sheets (whatever you would use for messy activities like painting)
- A bucket of water and sponge as well as a cloth for any spills
- Cardboard boxes
- Painting clothes or apron
- Rubber gloves
Silicone cup mould

Silicone cup mould. Image: Annalice Creighton / ANMM.
Silicone may be the most expensive material listed here but it’s also one of the easiest to work with: skin safe, quick curing and the moulds are very durable, flexible and able to cast lots of different materials.
But here’s the first rule of casting: never like with like. Don’t pour a silicon cast in a silicone mould or it will stick to itself.
If this kind of silicone is out of your price range there are some hardware store silicone hack recipes if you have time to experiment, or latex is cheaper though not quite as easy and reliable for beginners.
Materials
- Plastic cups
- Stirrer (tongue depressors work well)
- Pinkysil or other 2 part silicone mixture (this activity used about $10 of pinkysil)
- Kitchen scales
- A tiny bit of clay or plasticine
- Simple object to cast, such as a figurine, a light bulb. Something without holes or porous surfaces. Follow these guidelines for choosing your object.
- Casting material of your choice: Wax, crayons, plaster, chocolate, expanding foam…
- Craft knife
- Masking tape

Gather your materials. Image: Annalice Creighton / ANMM.
Instructions
STEP 1. Plant your object at the base of the disposable cup, in a shallow bed of plasticine or clay. You will lose the detail on wherever the object is planted in the clay so choose the part that matters least.

Step 1: Place your object in a disposable cup to create a mould. Image: Annalice Creighton / ANMM.
STEP 2. Mix the silicone thoroughly as per the instructions on the pack. Pour it into a second cup for extra mixing, as uncured bits can destroy your mould.


STEP 3. Pour the silicone into the cup with your object and let it dry for 15 mins.

STEP 3. Pour the silicone into the cup with your object and let it dry. Image: Annalice Creighton / ANMM.
STEP 4. Carefully use scissors to free the silicone mould from the plastic cup.
Because we haven’t created a technically correct mould, with proper registration keys for the 2 parts, we’re going to cheat and slice a part through the mould in a zig-zag direction just to half or two-thirds its length. That we can easily remove the casts without breaking them.
HINT: This step will definitely need a responsible adult to complete.


STEP 5. Pop your mould down on a level surface, masking tape it together and start pouring your first cast.

Step 5: Ready, set, cast! Image: Annalice Creighton / ANMM.
Glove mould with plaster bandage supports

Bodycasting. Image: Annalice Creighton / ANMM.
Got some silicon but want to make it last for a long time to get maximum value? This technique uses a thin coat of silicon, then makes a support out of plaster bandages. This is great for bodycasting small sections like fingers or feet.
Materials
- Plastic cups
- Stirrers ( tongue depressors work really well)
- Pinkysil (or other two-part silicon mixture)
- Kitchen scales
- A paint brush that you’re happy to ruin in the process
- Plaster bandages (or some porous fabric to dip in some plaster)
- water
- Your hands/ feet or someone else’s (even easier!)

Gather your materials. Image: Annalice Creighton / ANMM.
Instructions
STEP 1. Mix a small amount of silicon (about 60g) as per the instructions on the pack. Pour it into a second cup for extra mixing to be safe, as uncured bits can destroy your mould. You can always go back and make a second batch if you run out – unless you are casting your own hand in which case doing anything that requires two hands while the silicone is wet is quite a challenge.

Step 1: Mix the silicon, according to the instructions on the label. Image: Annalice Creighton / ANMM.
STEP 2. Paint your silicon onto the surface of your non-dominant hand/fingers, like you are icing a cake. Keep layering the silicon to build up an even, thorough coverage, not too fragile or thin. Nails and fingertips will require extra as they are prone to bubbles and breakages. If there are thin patches once the first layer it is cured, reinforce these areas with a little extra silicon.

Step 2: Paint the silicon on. Image: Annalice Creighton / ANMM.
STEP 3. Once silicon is dry you can start applying plaster bandages to form a support glove all around the silicone mould. Ideally, you want the mould to be able to stand up so you can pour molten liquids into it. You can also employ boxes/cups/newspaper to assist with your support structure if needed.

Step 3. Remove the dried silicon. Image: Annalice Creighton / ANMM.
STEP 4. Plaster takes a while to dry so once it’s starting to harden you can wriggle out of the mould at some point and leave it on a supported surface as it dries.

Step 4. Apply plaster bandages to support the mould. Image: Annalice Creighton / ANMM.
Once this is dry you’re all set to start pouring casts.
2-part plaster mould
This activity is one of the cheapest techniques but also the most time-consuming. If you don’t choose the right object, use enough lubricant or fill in the undercuts in your object well you could easily end up with a great lump of plaster stuck to an object.

A shell csat using the 2-part plaster mould techinue. Image: Annalice Creighton / ANMM.
Materials
- Vaseline or cooking oil spray
- Plaster of Paris (about $8/3 kg from hardware stores)
- Clay or plasticine
- Small cardboard box
- An uncomplicated small object such as a seashell. Plaster isn’t flexible so choose something that is easily going to pop out of that mould when it sets.

Gather your materials. Image: Annalice Creighton / ANMM.
Instructions
STEP 1. Place the object in the cardboard box. Make sure the box is not too big, just big enough for your object.
Bury your object up to halfway in plasticine or cheap clay and rub that lump of clay into the bottom of the box. Ensure there’s no cracks or un-clay-filled crevasses where the plaster can run wild and end up trapping your object inside your mould.

Step 1. Place your object to copy in the box. Image: Annalice Creighton / ANMM.
You can use tape along the edges of the box to ensure its sealed tight.
STEP 2. Pop some ‘keys’, little indentations, in the plasticine around the surface of your object with the end of a paintbrush so that you can create a 2-part interlocking mould. Vaseline up your clay and your object VERY THOROUGHLY. Plaster will stick to any unlubricated surface (except the plasticine of course).

Step 3. Create ‘keys’ in your mould by indenting the plasticine with the end of your paint brush. Image: Annalice Creighton / ANMM.
STEP 3. Pour the mixed plaster into the box. Sit it aside to dry.

Step 3. Pour the mixed plaster into the box. Sit it aside to dry. Image: Annalice Creighton / ANMM.
STEP 4. Tip the box over or tear away to remove your plaster mould.

Step 4. Tip the box over or tear away to remove your plaster mould.
STEP 5. Allow the plaster to dry thoroughly. Place the plaster mould on the bottom of the box (if you’ve destroyed your box rebuild another one to fit) and replace the object.

Step 5. Place the plaster mould on the bottom of the box and replace the object. Image: Annalice Creighton / ANMM.
STEP 6. Add a clay “pour spout” to this side of the object and lots more Vaseline to coat the mould and the object (if this isn’t done properly you will end up with a great lump of plaster instead of a mould!). If the underside of the object has holes and complicated undercuts, fill it in with clay so that you have a simple/ smooth surface for the mould.

Step 6. Coat the object and sprout with lubricant. Image: Annalice Creighton / ANMM.
STEP 7. Pour more plaster on top and allow to dry thoroughly (might take a day or so).

Step 7. Pour more plaster on top and allow to dry thoroughly. Image: Annalice Creighton / ANMM.
STEP 8. Cut off the box and gently pry apart your mould to remove the object. You might need to chip away at the edge with a tool to get it open at first.
STEP 9. Grease up the mould again. Pop the two sides together and you’re ready to start casting.
Cheats method paper casting

Paper casting. Image: Annalice Creighton / ANMM.
Materials
- Un-dyed tissues or hand-made paper pulp
- A chubby brush
- A simple object – eg. a plastic mannequin, a decorative frame, a plaque, a silicone mould
- Water in a tray

Gather your materials. Image: Annalice Creighton / ANMM.
Instructions
STEP 1. Make your paper pulp by soaking the tissue in a tray of water. Gently lay the paper strip by strip onto the object.

Step 1. Make your paper pulp by soaking the tissue in a tray of water. Image: Annalice Creighton / ANMM.
STEP 2. Pat down gently to capture the object detail with a brush.

Step 2. Pat down gently to capture the object detail with a brush. Image: Annalice Creighton / ANMM.
STEP 3. Keep layering the paper until you’ve built up a nice paper “ skin” on the object. Allow to dry and gently remove from the object.
Paper casts are a cast without a reusable mould per se so your work is done, brush a loose pigment over it, paint it (but not with anything too wet!), decorate it or hang it up!

As for casting materials to pour into your silicon moulds- your imagination is the limit! I’ve had great fun with expanding foam, plaster, wax, chocolate, double strength jelly, melted crayons and soap, pretty much anything that can go quickly from melted to solid is a possibility! Experiment till your heart’s content.