
Pete Illidge and Renee Malliaros prove that site mapping and synchronised swimming are not mutually exclusive tasks. Image: Julia Sumerling/Silentworld Foundation.
One of the major goals of the Kenn Reefs expedition was to find Hope, the small cutter built from material salvaged from Bona Vista, and later lost during the rescue of the brig’s crew. According to historical accounts, two boats were sent from the rescuing vessel (the ship Asia) to Observatory Cay, where they recovered most of Bona Vista’s crew, the brig’s allocation of specie (gold and silver coin brought aboard Bona Vista for trading purposes), and brought them aboard Asia. A skeleton crew of thirteen and the personal belongings of all of the brig’s officers and men remained aboard Hope, as did unspecified salvaged goods valued at £1,000. However, as Asia got underway and took Hope under tow, tragedy struck:
A cross sea unfortunately struck the cutter on the starboard quarter, while the towrope was slack, which canted her athwart with considerable list; and the towrope suddenly bringing her up at the same instant, hove her on her beam ends, which rendered the helm useless. Those on board the Asia either did not think of cutting the towrope, or feared to do so lest they should thereby part from us entirely. We were not prepared to cut on board the cutter, and were towed therefore in this perilous situation until she filled from the hatchways…
Hope sank within moments, taking everything aboard to the bottom. Its crew were able to abandon ship, but found themselves in rough seas and struggling to stay afloat. The treacherous conditions prevented Asia’s boats from being launched for nearly half an hour, during which time three of Hope’s crewmen drowned. The remainder survived, seven of which were saved by clinging to the cutter’s main boom, which broke free and floated to the surface.
Although a general account of Hope’s loss was recorded in archival newspapers, these same sources do not contain specifics useful in pinpointing the location of its wreck site. For example, while Asia is documented as having ‘bore away before the wind’ and just attained ‘full way’ when the accident occurred, no mention is made of the wind speed or direction, nor the relative speed and direction of the ship. Also notably absent is the distance and bearing between Asia and Observatory Cay at the time of Hope’s loss.

The loss of the Hope as reported in the Australian, Friday 24 April 1829, page 4. Source: National Library of Australia via Trove.
Consequently, the magnetometer team had to establish a survey area based on critical assessment of scant archival information, as well as a best-guess of prevailing weather and sea conditions when the accident occurred. This, coupled with practical knowledge of the operation of square-rigged ships (supplied by museum shipwright Lee Graham), enabled us to develop a hypothesis for how Asia might have taken another vessel under tow as it departed the lagoon and set a northerly course into open sea, and how the weather and sea state could have generated conditions treacherous enough to upset Hope.
With a search area established, the team commenced what is known in the world of maritime archaeology as ‘mowing the lawn’. The magnetometer was deployed from Maggie III and towed back and forth along a series of parallel lanes spaced 25 metres apart within a two-square-kilometre survey grid. While not the most exciting of tasks (hence the nickname), a systematic search with closely-spaced lanes is necessary in instances where the location of a shipwreck is vague or entirely unknown.
To complicate matters, Hope was a relatively small vessel and would not have been carrying iron fasteners and hardware of sufficient enough size and quantity to produce a large magnetic anomaly. It also foundered in relatively deep water, a fact reflected by the depth range (19 to 42 metres) within the survey area. For this reason, the team attempted to ‘depress’, or sink, the sensor to a depth of 10 metres and tow it closer to the seabed where it had a better chance of detecting Hope. Approximately one-third of the survey area was completed by the end of the day, but no magnetic anomalies were detected.
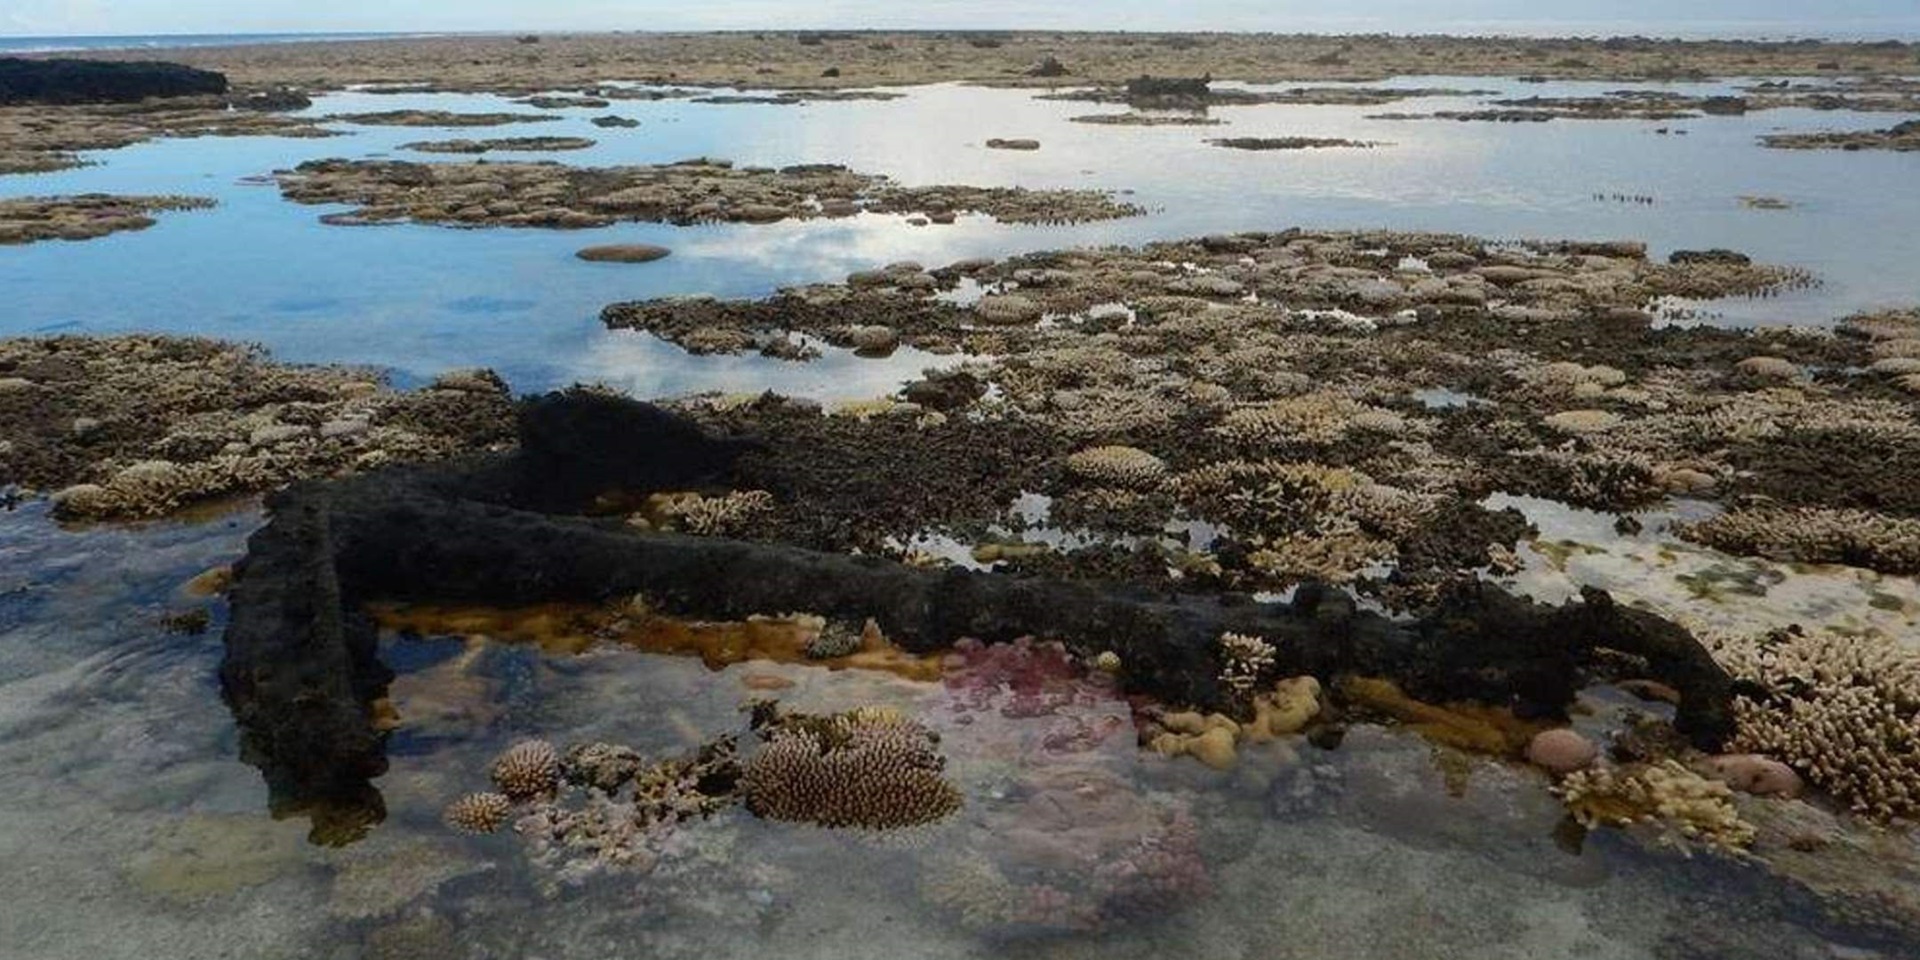
While Maggie III and its crew searched for Hope, two other teams set out along the top of the ‘foot and ankle’ at low tide to relocate additional shipwreck sites documented by Delaney and Batley in 1987. They were also tasked with searching for new sites. Pete and Renee were responsible for the western half of the reef, and soon encountered KR1, a scatter of shipwreck material on the reef top featuring three large (more than two-metre-long) Admiralty pattern anchors, two iron mast sections, two lengths of stud-link anchor chain, and several iron knees. A short distance to the east they also relocated site KR4, the most prominent attribute of which is large mound of iron rods and bar stock (as well as a small number of ballast stones) that have corroded together into a single fused mass. The iron rods and bars match archival descriptions of the cargo carried aboard the barque Jenny Lind, and Delaney hypothesised this feature represents a section of its shipwrecked hull that washed on to the reef top.

Pete Illidge obtains a GPS position for one of two iron mast sections at site KR1. Image: Renee Malliaros/Silentworld Foundation.
Further to the east, John, Jacqui and Jules searched for KR6. Delaney hypothesised that this site comprised wreckage from Bona Vista and noted the presence of a single Admiralty anchor, small unidentified iron concretions, and a number of historic wine glass fragments. The team was unable to find KR6, but their search resulted in the discovery of several large, concrete-filled trapezoidal iron blocks atop the reef in association with modern copper pipe sections, hose fittings, and hacksaw fragments.

Site features at KR4 include an Admiralty anchor and large concreted mound of iron rods and bar stock (left background). Image: Renee Malliaros/Silentworld Foundation.
No other wreckage was observed either on the reef top or in the surrounding shallows, which suggests the site is all that remains of a modern vessel that ran aground and was later repaired and refloated. Significantly, the team also discovered previously undocumented shipwreck material at another location (designated KR11), including large iron frames, copper-alloy fasteners, and a mass of concreted stud-link anchor chain. Some artefacts were located in shallows along the outside reef edge, and suggested the tantalising possibility that more of the wreck site was located in deeper water to seaward.

This cluster of Admiralty anchors drew the team’s attention to the in-water component of site KR11. Image: Julia Sumerling/Silentworld Foundation.
The morning of 14 January dawned with calm sea and wind conditions, so John, Jacqui, Jules, Pete and Renee joined forces to inspect the waters immediately offshore of site KR11. The theory that more of the shipwreck might be located just off the reef proved true, as the team quickly encountered three Admiralty anchors laying within a gorge. The same gorge and others nearby also contained clusters of copper-alloy ship’s fasteners and hardware, as well as scattered iron frames—a number of which resembled the examples observed the previous day on the reef top. Significantly, the site also featured two iron carronades. These short, stubby smoothbore cannons were developed in Great Britain during the 1770s and remained in use among several of the world’s navies until the 1850s, when they were gradually replaced by rifled artillery. By the first half of the nineteenth century carronades were also common on merchant ships, but typically mounted in smaller overall numbers.

One of two carronades discovered at site KR11. Image: Julia Sumerling/Silentworld Foundation.
Flush with excitement from their discovery, the team then moved to the lagoon west of Observatory Cay to have a look at yet another exciting find: A previously unidentified shipwreck comprising two Admiralty anchors, iron anchor stocks and chain, two hawsepipes, the base of a capstan, and scattered iron frames. The site was spotted by Pete and Renee the day before as they were being transported by small boat to the western extremity of the ‘foot and ankle’.

John Mullen examines a large conglomerate of artefacts at site KR10. The conglomerate includes one Admiralty anchor, an iron anchor stock, chain, and the base of an iron capstan. Image: Julia Sumerling/Silentworld Foundation.
In addition to the large objects, several small artefacts were present as well, including a wooden sheave (the pulley in a rigging block), copper-alloy fasteners, and a copper-alloy upper valve (or ‘piston bucket’) from a suction bilge pump. Shipwreck material associated with this site—particularly the anchors—is small when compared with that associated with other sites at Kenn Reefs, and appears to have originated from a vessel of smaller tonnage. The team documented all visible artefacts and features and conducted a metal detector sweep for buried components. They then headed back to Silentworld to rendezvous with the magnetometer team and share the exciting news of their discoveries.
In the next instalment: The magnetometer team (finally) hits pay-dirt! Explore more about the museum’s maritime archaeology initiatives on our blog.
With thanks to our maritime archaeology program partners, Silentworld Foundation.