
Science is awesome. Image: Annalice Creighton / ANMM.
Do you know a toddler who is bonkers for bubbles, mad about messy play, sweet on ships, or wild about water in all its shapes and forms? We thought we would use our monthly craft spot this August to share our top 5 maritime-y science-y activities for early learners as a way to celebrate National Science Week.
While in-depth discussions about the intricacies of animal adaptations, laws of motion and gravity or the molecular changes involved in a chemical reaction may be years away, enjoying science play and simple experiments with young children is still a fun and easy opportunity to foster their curiosity and problem solving skills.
Best ever gigantic bubble mix


This “best ever bubble mix” recipe is courtesy of one of our in-house Questacon-trained science communicators. You could use any detergent but we heard from the experts that this brand is the best for producing gigantic bubbles.
Ingredients:
- 1 cup Fairy dishwashing detergent
- 2 1/3 cups water
- 1/3 cup glycerine (available from pharmacies)
- Empty drink bottles with lids for storage of your bubble liquid
- Plastic-coated garden wire (available from Bunnings) and a small length of cotton twine
Method:
- Mix the detergent, water and glycerine together well.
- Pour the mixture into your empty soft drink bottles.
- Allow your bubble mixture to sit for a while before using. The longer you keep it, the better it gets.
- Shape your plastic-coated wire into any shape you wish – stars, hearts, circles! You might want to use gaff tape to cover over any sharp edges at the end of the wire for safety. If you tie a small line of cotton thread across about 1/3 of the way along from the edge of your circle it will improve the bubble wand’s ability to hold the bubble liquid.
- Now you’re ready for some bubbly fun in the sun! Bubbles will work best if you move the wand through the air slowly. It is also easier to make great bubbles in damp or humid conditions.
Fizzy shipwreck site


This great recipe is inspired by the fun-a day fizzing treasure chests activity.
Ingredients:
- 3 cups bicarb soda
- Some “treasures”, we prefer to avoid small, easily swallowable objects (just in case). So good options are lengths of decorative beads, small silver plates/cups/forks/spoons from op-shops and large shells or plaster starfish
- 1 cup glitter
- A few tablespoons of water (just enough to make a paste)
- A few drops of coloured dye
- A large baking tray or loaf tin lined with baking paper
- Some vinegar and plastic droppers
Method:
- Mix together all your ingredients in a bowl to make a thick paste (if it’s too runny just add more glitter and bicarb)
- In the tray, place your treasures and spoon the bicarb mixture over the top to create a solid block
- Freeze overnight
- Empty the “shipwreck site” into a bowl or tray with a small amount of water
- Now it’s time to excavate the treasures! Use cups of water and vinegar in droppers to free the treasure and enjoy the fizzy fun along the way! HINT: Smocks are recommended for this activity.
Curiosity Jars


Explore the interplay between water and oil – with bonus glitter!
Ingredients:
- 1 cup clear baby oil
- A few drops of coloured food dye
- 2-3 cups water
- 1 teaspoon glitter or sequins
- Plastic toy sea creatures or ships
- An empty clear plastic soft drink bottle with the labels removed
Method:
- Pour the baby oil into your plastic bottle
- Add cold water to fill to 2/3 full
- Add a few drops of food colouring, the sequins or glitter and the plastic creatures/ ship
- Secure the lid with extra sticky tape/ gaff tape and craft glue as well if needed to avoid any keen little scientists tipping the contents out.
- And there you have your curiosity jar! Kids will love watching the interplay between the coloured water and the oil and floating objects. They’re also observing some everyday chemistry whether they know it or not.
- Experiment with varying the temperature of the water and the amount of oil you use to get some different results.
Brilliant Buoyancy experiments

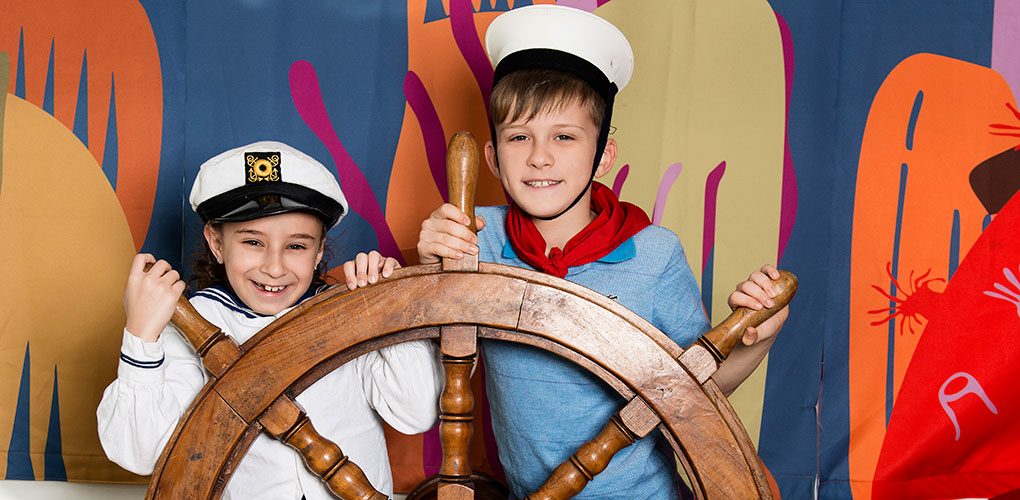
What sinks or floats? Image: Annalice Creighton / ANMM.
What sinks or floats is a great place to start when you’re talking maritime science.
You could keep this really simple by just using the plasticine and water to make a boat shape but if you’ve got the energy, letting them experiment with making something out of a range of materials is even more fun.
Ingredients:
- Tray of water
- Rubber bands
- Foam or plastic party cups
- Tin foil
- Plastic food wrap
- Plasticine
- Weights such as marbles or balls of plasticine
- Sticky tape
- Balloons blown up to about 10-15cm diameter
- Paper plates
Method
- Challenge your young scientist to create a boat that floats out of whichever materials they like.
- Ask questions along the way to see what they observe.
- Which materials float easily? Which ones sink?
- Which materials are easily made into the shape of a boat or raft?
- Try adding some weights to your boat. How much weight can it hold before it sinks?
- What happens to the height of the water in our tray when we put the boats/ materials in? Use a marker to show how the water goes up.
- This is a nice open ended experiment that looks at buoyancy, Archimedes principle, displacement and gravity through play!
Rainbow puddles


Ingredients
- 1 packet of skittles
- 1 jug of warm water
- A plate
Method:
- Place the skittles around in a circle – try to place different colours alongside each other for a nice rainbow effect
- Pour some warm water into the centre of the tray so that it just touches the skittles
- Watch the magic happen, the dyes should create lovely swirly rainbow lines that stretch into the centre of the plate