It’s almost unavoidable, if you have small children in your world, at some point they will probably ask for a pirate party. There’s something irresistible about those tricorn wearing terrible thugs that no amount of education can overcome.
I once made the mistake of festooning a 3-year-old’s pirate birthday with my favourite skull and cross bones cardboard bunting and the adorable Pete the repeat parrot, not anticipating the swashbuckling scoundrel-like behaviour that would ensue once the face paint eye patches and paper pirate hats began to encourage a little too much role play.
Needless to say Pete was minus a head and an arm after being thrown off the “pirate ship” (read cubby house/swing/ nearby tree) a few times. Never to flap his awkward mechanical arms and chirp again.
This month’s craft spot is inspired by pirate parties, and pirate-like toddler behaviour perhaps. It’s a parrot piñata- something you beat up to steal all its goodies, sounds like piratical mischief to me. Fringing onto an adhesive base is also a great craft for with older toddlers and young children as it’s easy, glue free and a good opportunity to practice some fine motor skills with layering, tearing, cutting and collage.

Materials
- 1 large sheet of 3mm adhesive foamcore (you might not have this at home but truly it makes a piñata so easy for making with little crafters as you don’t need to do any gluing) OR you could use 3-5mm thin box board cardboard and craft glue.
- Templates of a parrot printed onto A4 paper- page 1 page 2
- Kids scissors
- Glue stick
- Colourful metallic papers or metallic cello
- Something fun to go inside your piñata ( lollies, confetti, party treats)
- Masking tape
- Box cutter
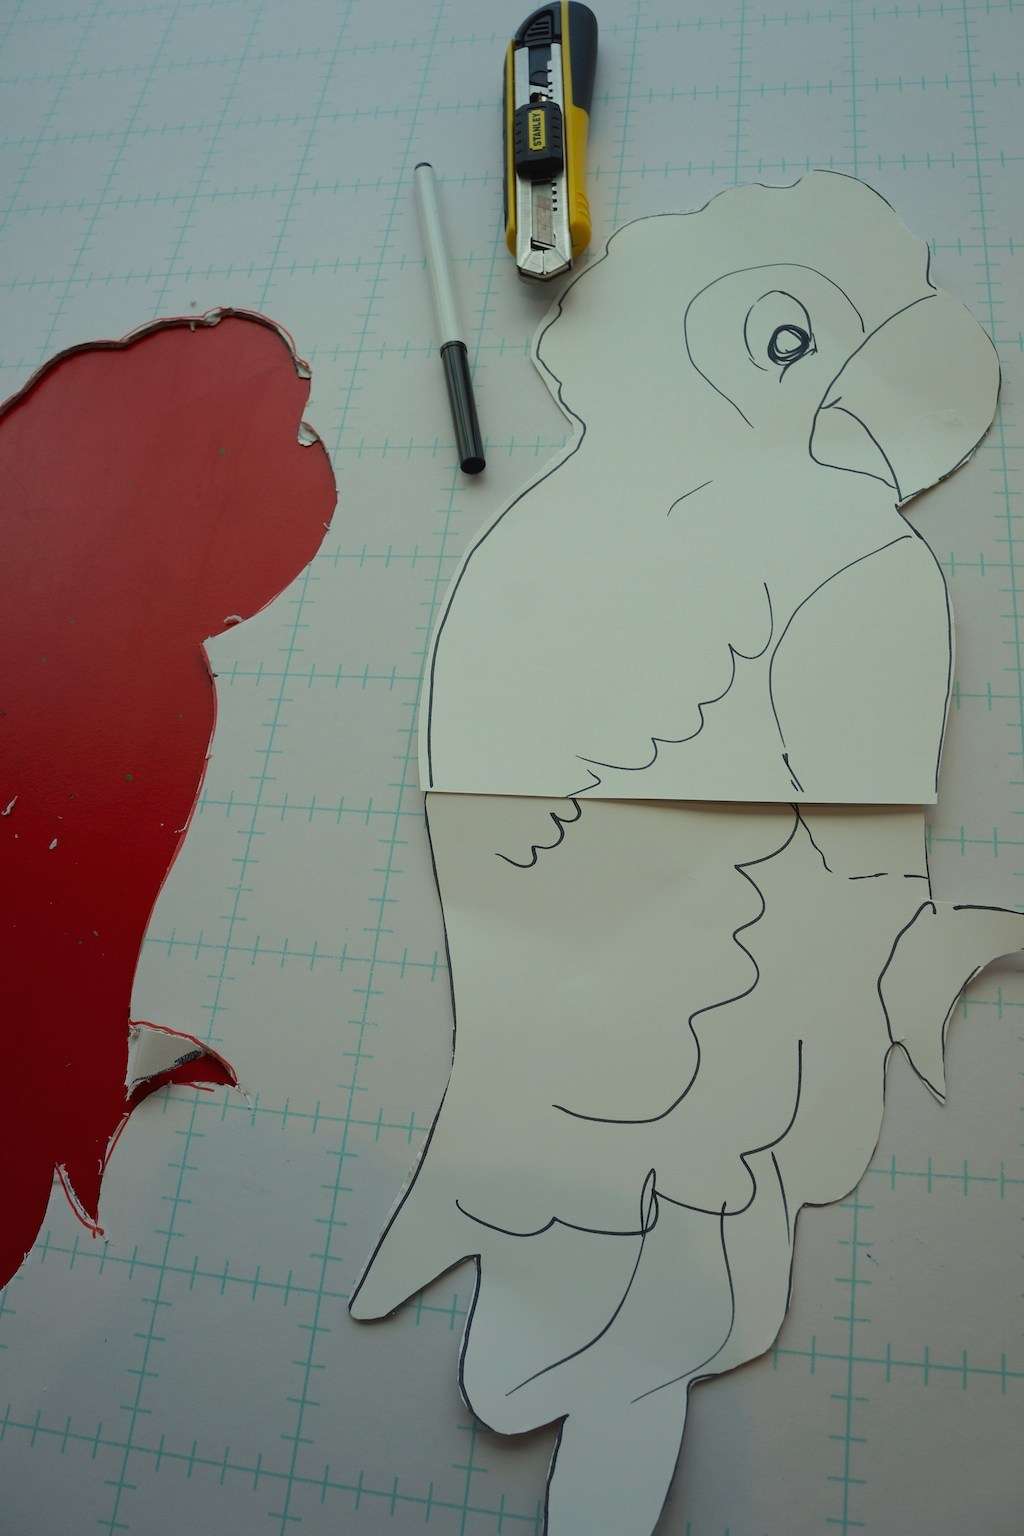
Step 1
Trace the template onto your foamcore or card and use the box cutter to cut out your parrot shapes. Remember to flip over the template for side 2 so that both sides of your parrot have adhesive on them. Cut out two long strips of extra foamcore for the sides of the piñata to make it 3 dimensional.


Step 2
Lay one side of the parrot with the adhesive contact side facing down.
Bend all along the foamcore strip with your fingers to make it flexible. Start taping the strip to the parrot base at a right angle using the masking tape. It’s best to start this at the top of the parrots head so you can easily insert the loop to hang up your piñata. Add another strip as needed to completely trace the outline leaving a small gap up top for the hanging loop.
HINT: The sides don’t have to follow the outline exactly.

Step 3
Add a twisted section of metallic cello or some string to create your hanging loop at the top of the parrot. tape down with masking tape.

Step 4
Pour in your goodies- pieces of eight, gold doubloons, lolly loot or if you don’t have anything else around a bit of paper confetti/ sparkles of any variety seem to be impressive enough for most of the under 5s set.


Step 5
Tape the second piece of your parrot to the top. You might need to peel back the adhesive layer on the top and sides to finish this off neatly.


Step 6
This is where your little crafting companions can join in the fun, if you’ve used adhesive foamcore the parrot is already sticky so we just need to make the paper fringe and dress this parrot up. Take your decorating paper and cut into 3cm wide strips. Fold these over a few times and fringe them. Fringing cuts are well within the skill range of a 3-4 yr old if you have some nice kid safe scissors handy.

Step 7
Apply fringed paper to your piñata layer by layer to achieve your desired decorating result. We used some flat paper sections around the beak and the side panels to help keep the parrot shape in tact. Once you’ve done one side, turn over and do the back of the parrot.


Step 8
Stick on a hand drawn paper eye and a cheeky beak smile, and there you have it, a parrot piñata ready to be strung up and pummelled by some pernicious pirates.
HINT: A cut down foam pool noodle works well as a fairly safe piñata bat.