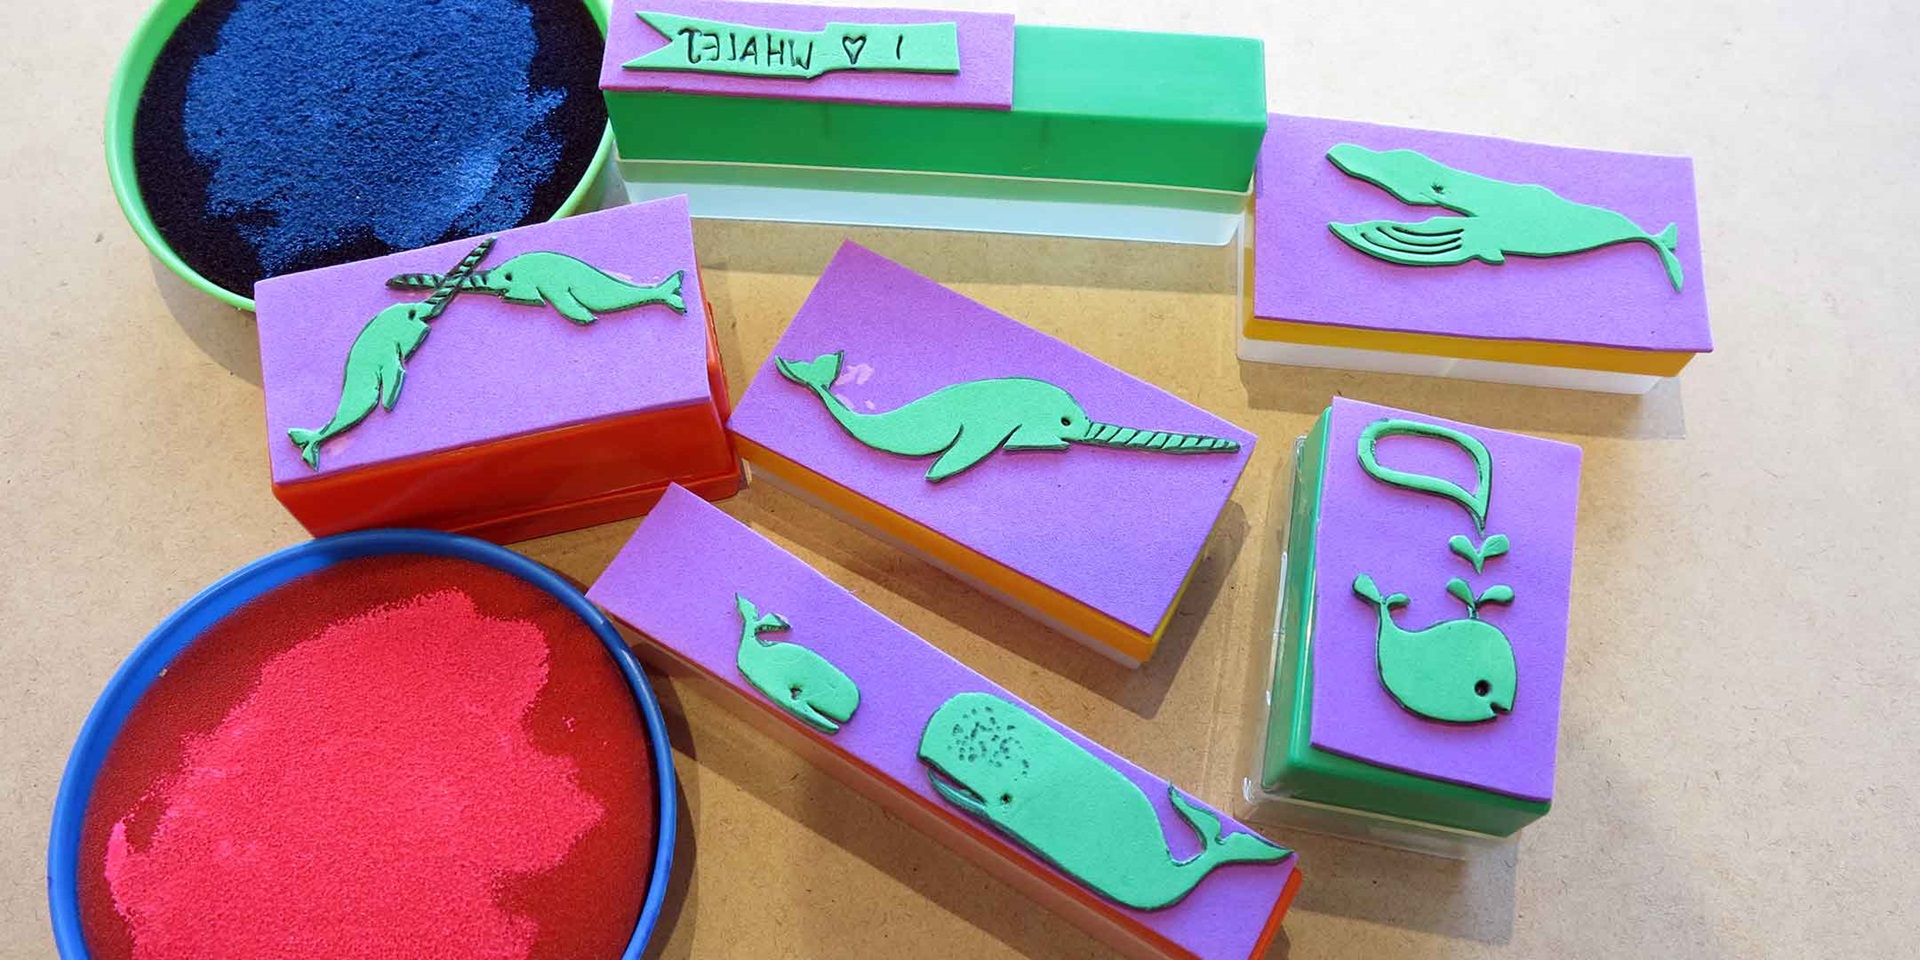

Whether it’s tusk-duelling narwhals, a barnacle-headed mumma whale or a declaration of love for the majestic giants of the aquatic world…there is something just plain delightful about the instant printmaking produced by the humble stamp.
Perfect for making your own stationary, hand-printed fabrics, bespoke scrapbooks and collages, stamps are just as as fun and usable for toddlers as they are for all the grown-up kids!


Materials
- Whale designs templates printed out ( page 1 A4)
- 2-3 sheets of craft foam. Alternatively erasers are also great for making stamps.
- A craft knife
- A cutting mat or piece of scrap cardboard
- Scissors
- A ballpoint pen
- Craft glue ( the strong clear craft glue is best, PVA is not suitable as it will wash off your stamps and doesn’t bond well enough for these materials)
- Something to make the back of the stamp. It needs to have an even flat surface on the side where you put the stamp and be able to withstand pressure without buckling and the occasional wash up. We used old slide boxes but some other options would be odd puzzle pieces, wooden blocks, jar lids, wine corks.
- Stamp pad in colour of your choosing ( remember to make stamps no bigger than your stamp pad)
- Blank papers for printing onto
- An old rolling pin ( optional)
- A hole punch ( optional)

Step 1
Choose the design you wish to start with. Cut out the design using scissors or a craft knife.


Step 2
Trace the design onto your sheet of craft foam using a ballpoint pen. Ideally you should do two layers of foam for each design to produce a better printing result. Remember, every firm mark you make on the printing side of the foam shape will show up on the final stamp pattern.


Step 3
Cut out the foam using the craft knife or scissors. Save any fine details for the ballpoint pen. You may wish to flip it over to face the same way as the original design. We didn’t do this but we decided later on it probably would have been a good idea. Once you have decided which side is the printing surface, add the finer details (eyes, tusk , barnacles) using the pen to make firm indentations.
HINT: remember to write words back to front if you are using any type in your stamps.


Step 4
Once you have cut out all the designs you require, stick the two foam layers together using your clear craft glue. Cut out and stick another layer of foam onto your stamp backs (slide boxes in our case). Glue the printing layers of foam onto the backing layer in roughly the centre of the stamp surface.
Leave it to dry for at least a few hours. Overnight may be even better.


Step 5
If you want to make the confetti rolling pin printer as well….Use the hole punch to perforate several foam circles. Glue these in a random pattern onto the rolling pin. Leave to dry.


Step 6
Your stamps are ready!
Ink them up using your ink pad or just some craft paint on a spongy roller and start stamping up a storm!
Not every stamp will be perfect but each print will be unique and beautiful in its own way!
