
I am grey and mottled and a little bit mysterious. I have the largest canines of any animal. Vikings used to trade my big tooth for gold. My tusk was also mistaken for the horn of the mythical unicorn and believed to have magical healing properties. I live in the arctic. I am actually a medium sized whale.
I am…the narwhal.
For this month’s craft spot, we couldn’t resist the adorable, fascinating and wackiest of all the whale species – the narwhal as the subject for our huggable, loveable, bedazzled and up-cycled fabric softie.

Materials
- Sharp scissors
- Upholstery thread in grey/black/white
- Large darning needle
- A few dressmakers pins
- Some grey/white/black sequins, beads or buttons
- Pillow stuffing/ polyfill
- Unwanted socks/ t-shirt or tights in grey tones
- Extra felt or iron-on interfacing for lining your softie panels
- Small scraps of white, blue, black felt or fabric for the eyes
- Small scrap of white felt for the tusk
- Print outs of our narwhal softie pattern ( A3 version or page 1 A4 and page 2 A4)


1. Trace the narwhal pattern pieces onto your scrap fabrics( socks/ t shirt, tights etc) and cut them out. The body should be cut from the grey fabric, the horn and eyes from the white felt.
TIP: Each pattern piece is labelled with the number of shapes you need to cut out. Don’t forget to allow 1-2 cm extra around the body pieces for seams.
If you are using a thin or stretch fabric like we did you might like to line each body piece with felt or iron-on interfacing to make them easier to sew together.


2. Pin together your narwhal’s body parts along the seams with the nice sides of the fabric facing in and seams facing out. Place your first side-body fabric cut out together with the top-body cut out and alongside this goes the second side-body piece and finally the belly piece.
TIP: You may find it easier to pin one or two pieces at a time before seaming if you are using a sewing machine rather than by hand.
3. Use a running stitch ( or straight stitch on a sewing machine) to sew along the seams of all your body pieces. Leave a 5cm gap in the middle edge of the last belly seam as you will need this to be unsewn so you can turn your narwhal the right way out.

4. Use the gap in the body’s seam to turn the narwhal the other way out. Poke your finger inside the shape to push out all the seams.

5. Stuff the body of your narwhal through the gap with as much stuffing as you need to make your narwhal full figured.

6. Fold in the seam around the gap in your narwhal’s body. Pin it in place and sew to close off the seam.

7. Sew the seams on your flippers and stitch them onto the body of your narwhal

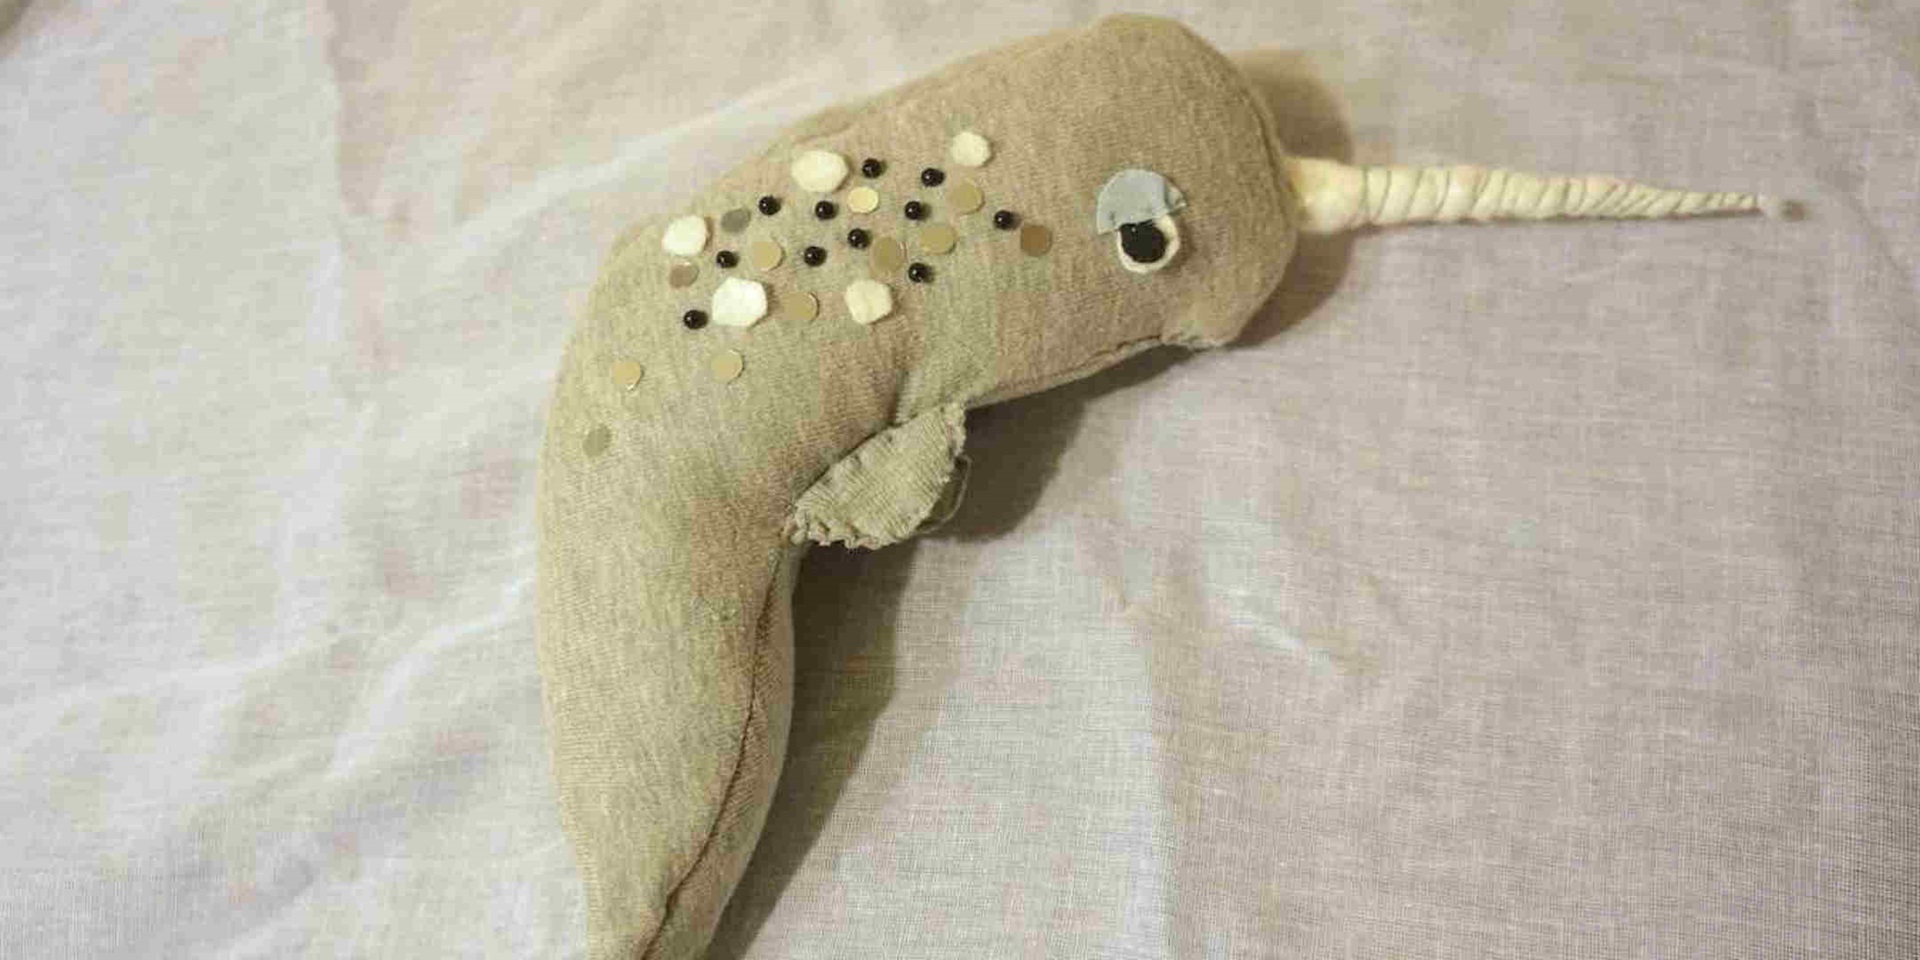
8. Now for the tusk. Take your white felt/fabric and roll it up into a cone. Stitch your needle through the bottom corner of the cone and wind the thread around the outside, stitching at regular intervals to hold the spiral thread in place. Stitch your tusk to the head of your narwhal.

9. Sew your eyes onto the body. You could use buttons or google eyes instead of fabric eyes.
10. Narwhals have mottled looking skin, we are going to simulate this with sequins and beads. Sew on your sequins/ beads/buttons to make a nice pattern around the narwhal’s top and side body.
And there it is, the unicorn of the sea.
Now to naming your narwhal…Chompers, Tusky, Spotty or Gnarly? So many possibilities.