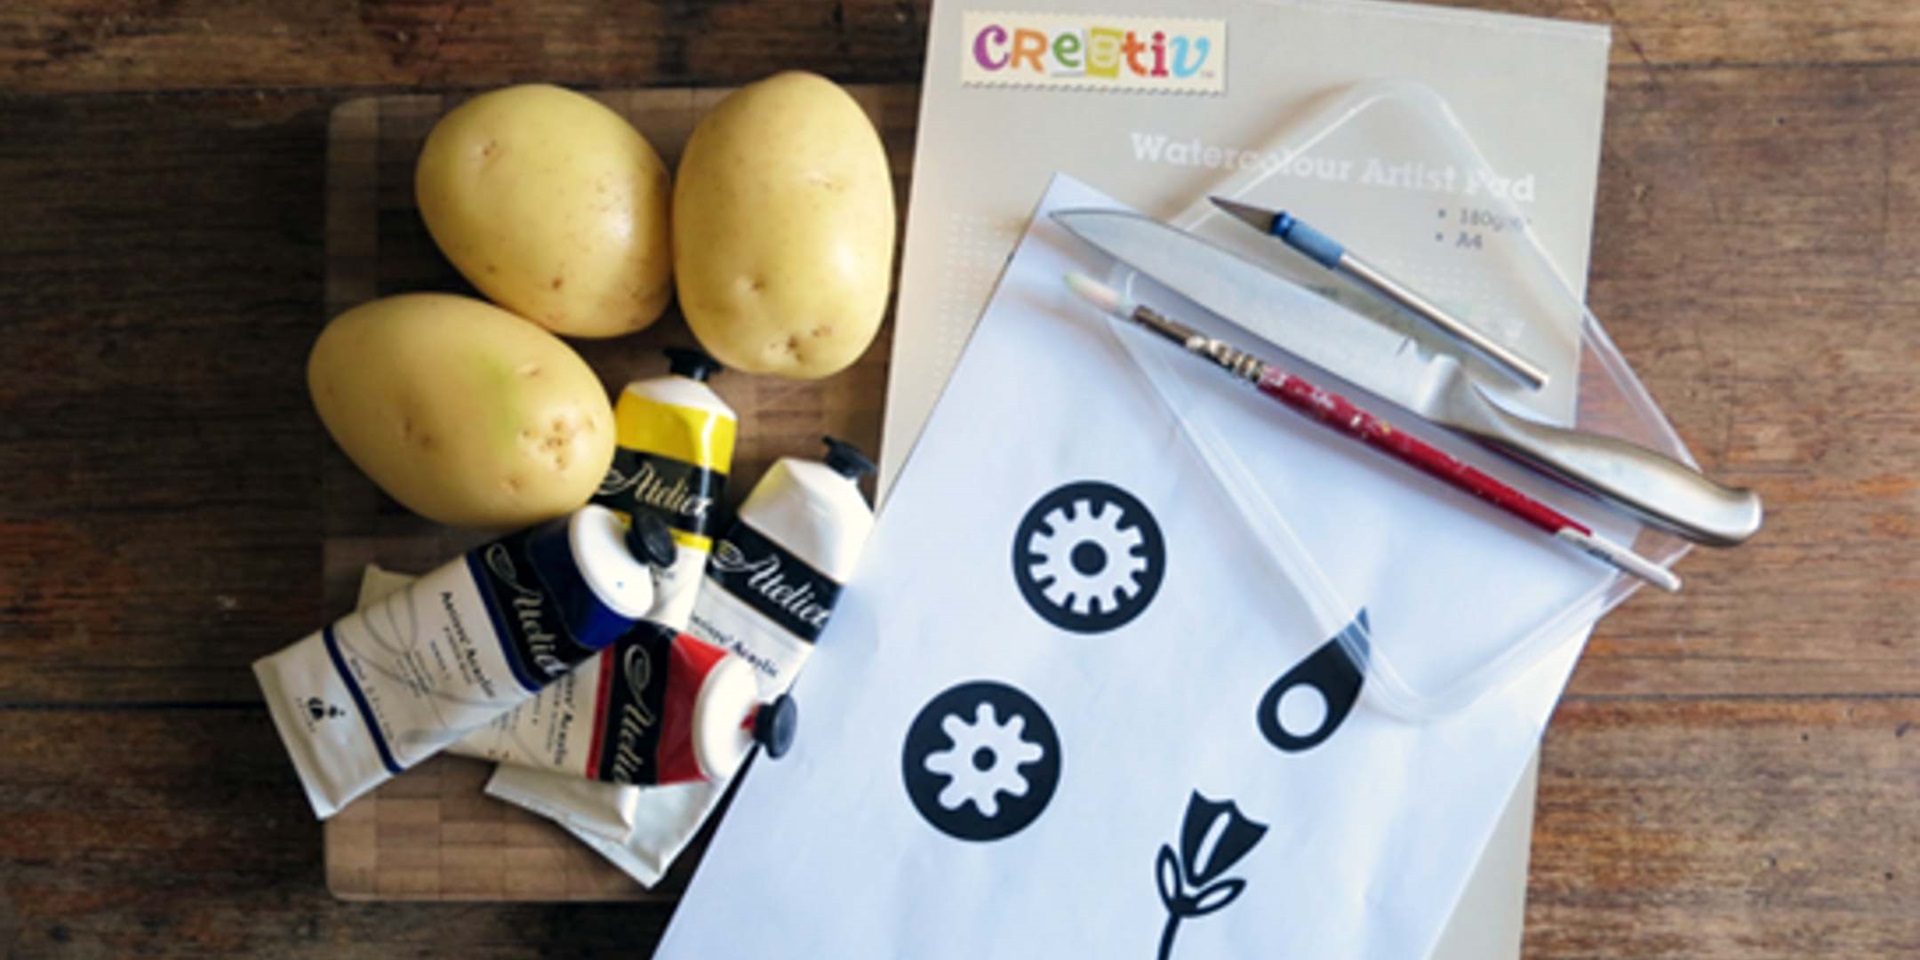
Inspired by the traditional art of block printing, we have created step by step instructions for you to make a ‘block print’ at home, using simple house-hold materials, like potatoes!
Wooden block printing has a long tradition in India where a design is carved into a printing block, the surface of the block is placed in dye and then printed onto the cloth. We found a great video on Youtube that shows more of the detailed process involved.
Important note: This is a great activity for children, but please make sure an adult does all of the cutting work.

Prepare your workstation
Equipment
- Download and print potato print patterns (PDF 479 KB)
- Large potatoes
- Kitchen knife
- Scissors
- Sharp pencil
- Crafting blade
- Paint brush
For paper print
- Acrylic paint
- Thick art paper
For fabric print
- Acrylic fabric paint
- Cotton fabric
Instructions
1. Cut out the patterned shapes provided on our downloadable pattern sheet (PDF 479 KB).

You can use our fancy patterns or create your own!
2. Cut your potatoes in half. Make sure the outside of the potato is clean!

Make sure you cut your potato very straight for best results
3. On the flat cut side of the potato, place one of the cut out pattern shapes. Trace the shape onto the potato.
4. Using your crafting blade, cut around the pattern shape, removing the potato around the pattern. This will create your solid stamp pattern.

Cutting out the potato stamp can be fiddly, make sure an adult does this
5. Lay your fabric or paper onto a flat surface. You might like to lay down some newspaper underneath and pop on a painting smock in case your paint gets a bit messy!

Coat your stamp with a thin layer of paint
6. Using a paint brush, cover your potato stamp with a thin layer of paint. Carefully place your potato stamp onto the fabric or paper and press down firmly. Remove the stamp and repeat the process evenly across the fabric/paper to make a beautiful pattern.

Use bright colours when potato stamping.

Use contrasting colours when printing your potato stamp on fabric.
Tips
- If you are printing with fabric paint, iron each side of the fabric for 15-30 seconds to colour-fast the paint.
- Don’t just stop at paper or pieces of fabric, why not stamp a fabric tote bag or pillow case?
- Get creative, use multiple colours and stamp patterns to make a unique pattern on your fabric
- You could make a lovely notebook using stamped paper as a cover like we have in the picture below.

We made a lovely notebook with a stitched spine using the paper print
