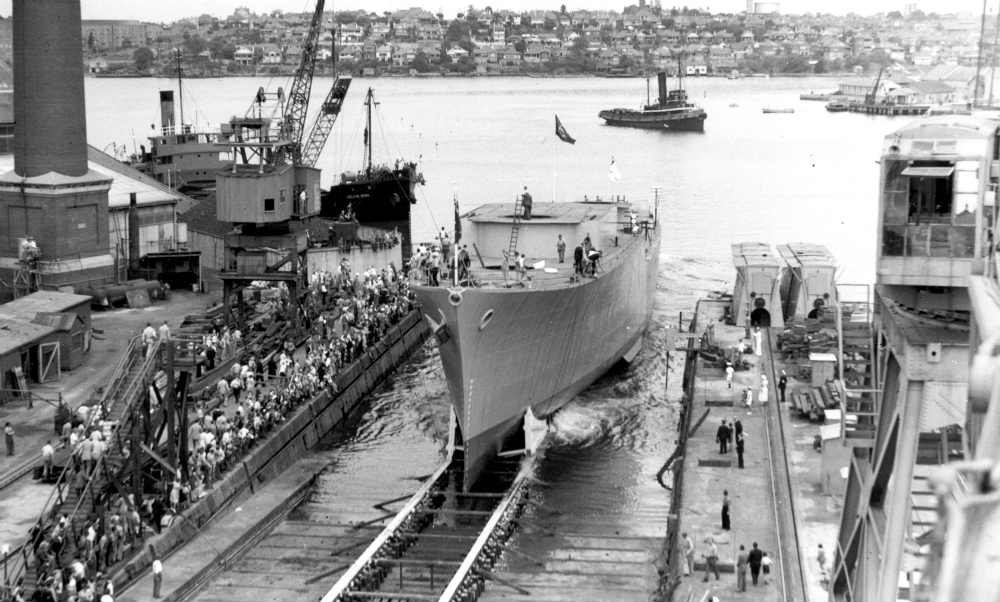
The story of HMAS Voyager.
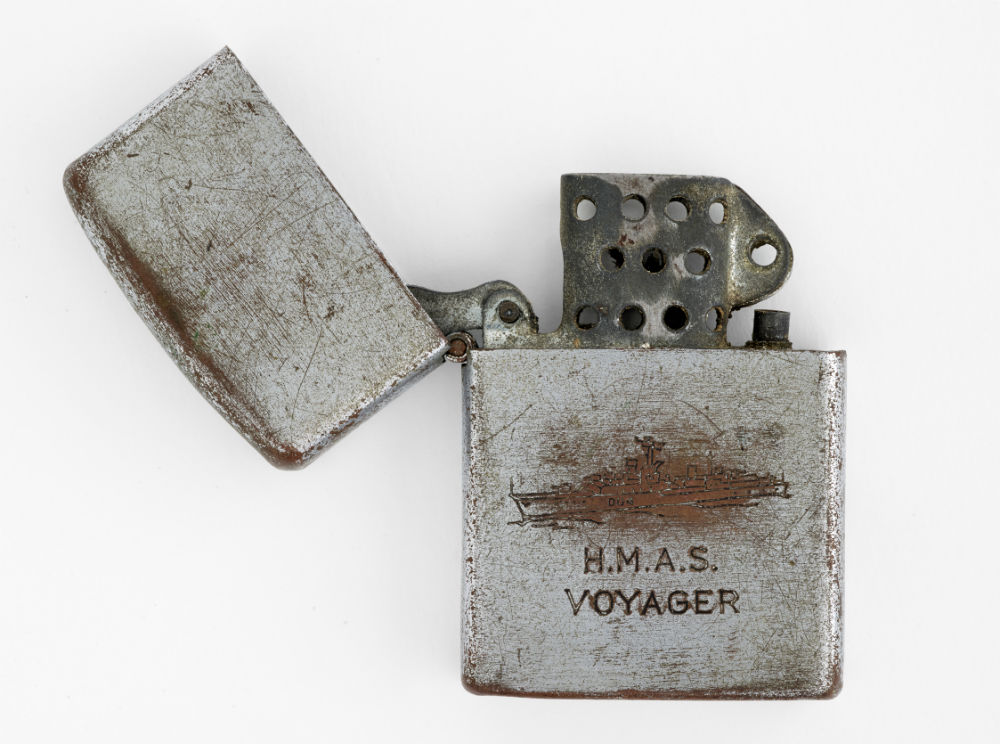
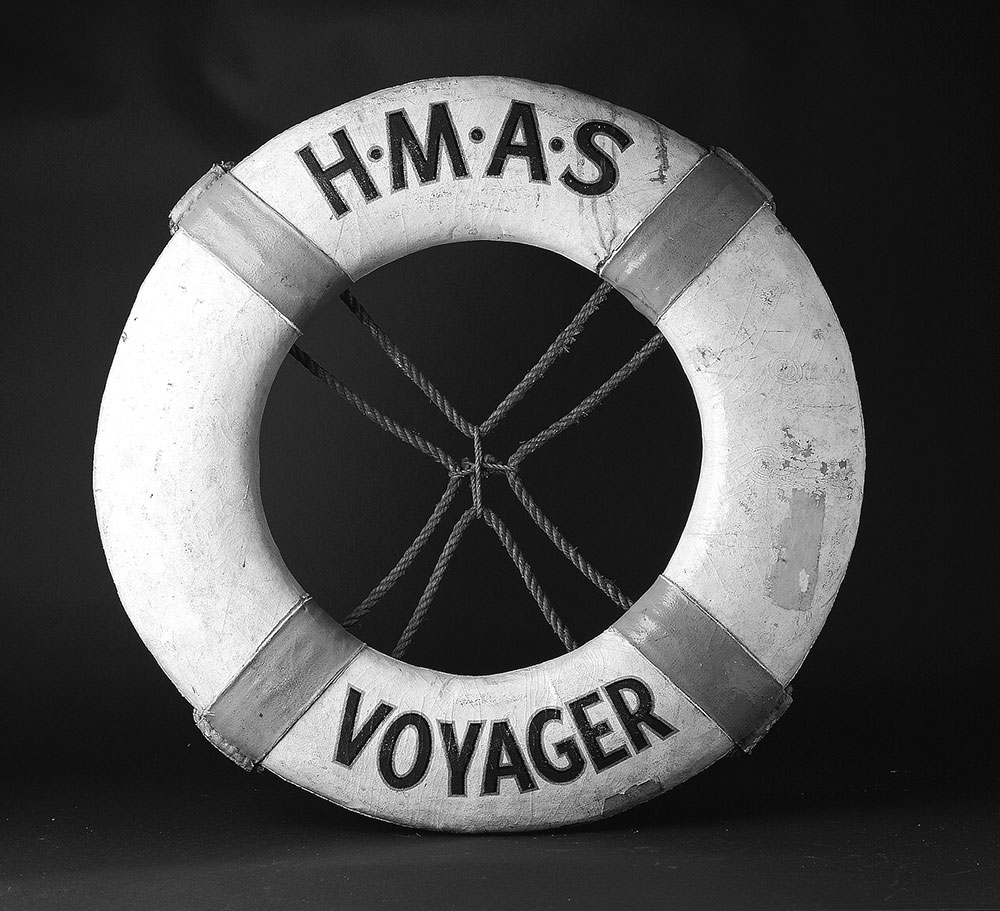
At 8:54pm on 10 February 1964 aircraft carrier HMAS Melbourne (II) collided with HMAS Voyager (II). Voyager was sheared in two and quickly sunk. 81 sailors were lost.
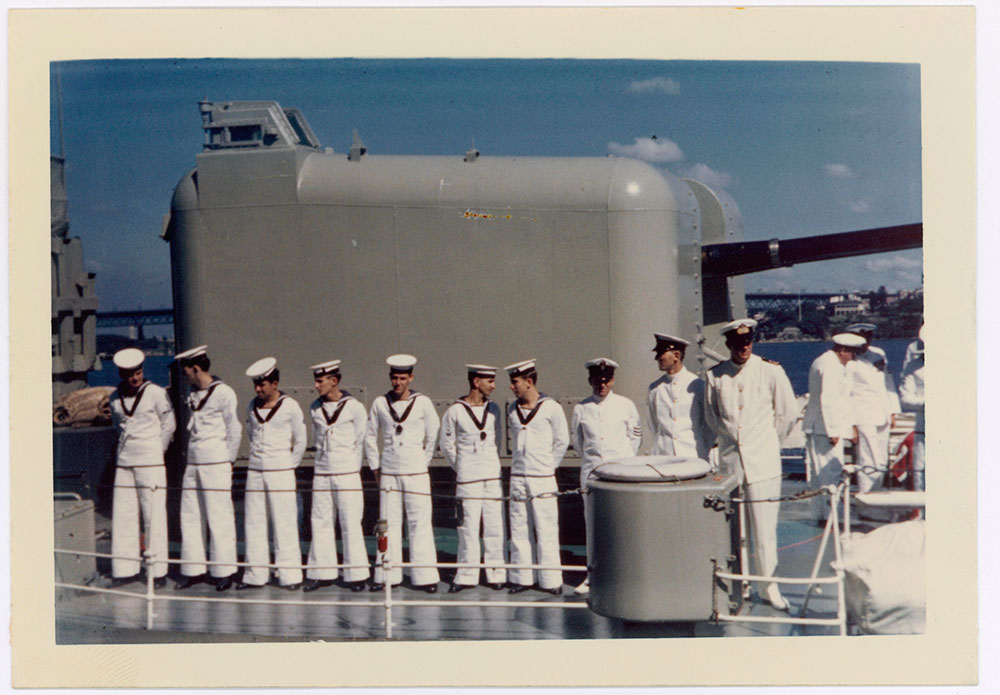
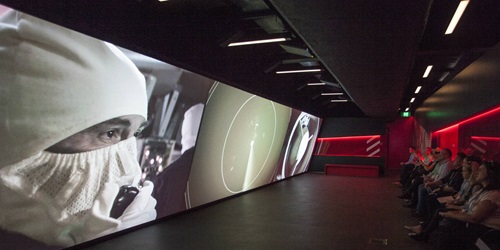
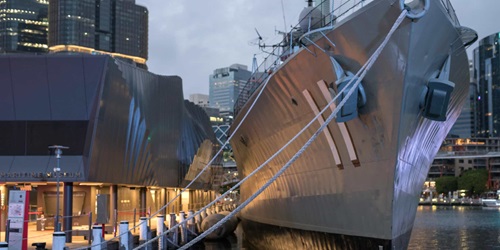
Told through the voices of the sailors that lived, worked and died on this Daring-class ship, this exhibit reflects back on its tragic end on that fateful February night. Featuring a stunning 5-metre model of Voyager, media coverage of the disaster and medals of those who lost their lives, a visit to this exhibition is a must-see experience before exploring Voyager's sister ship HMAS Vampire in the museum's fleet.
‘I was sitting down drying my feet when the Melbourne hit us. Talk about luck. The forward crews bathroom was where I was about a minute before the accident. That’s where the Melbourne hit us.’
Acknowledgements
The exhibition is supported by the Royal Australian Navy.
The museum would like to thank Arthur Pearce and RAN ex-servicemen John Withers OAM, Len Price, and David Simpson.
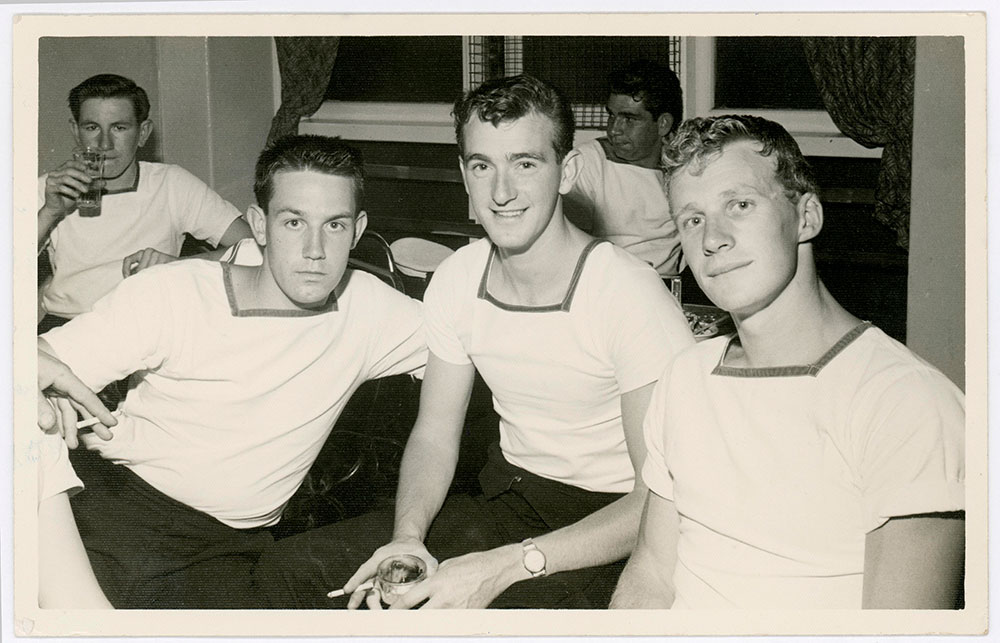
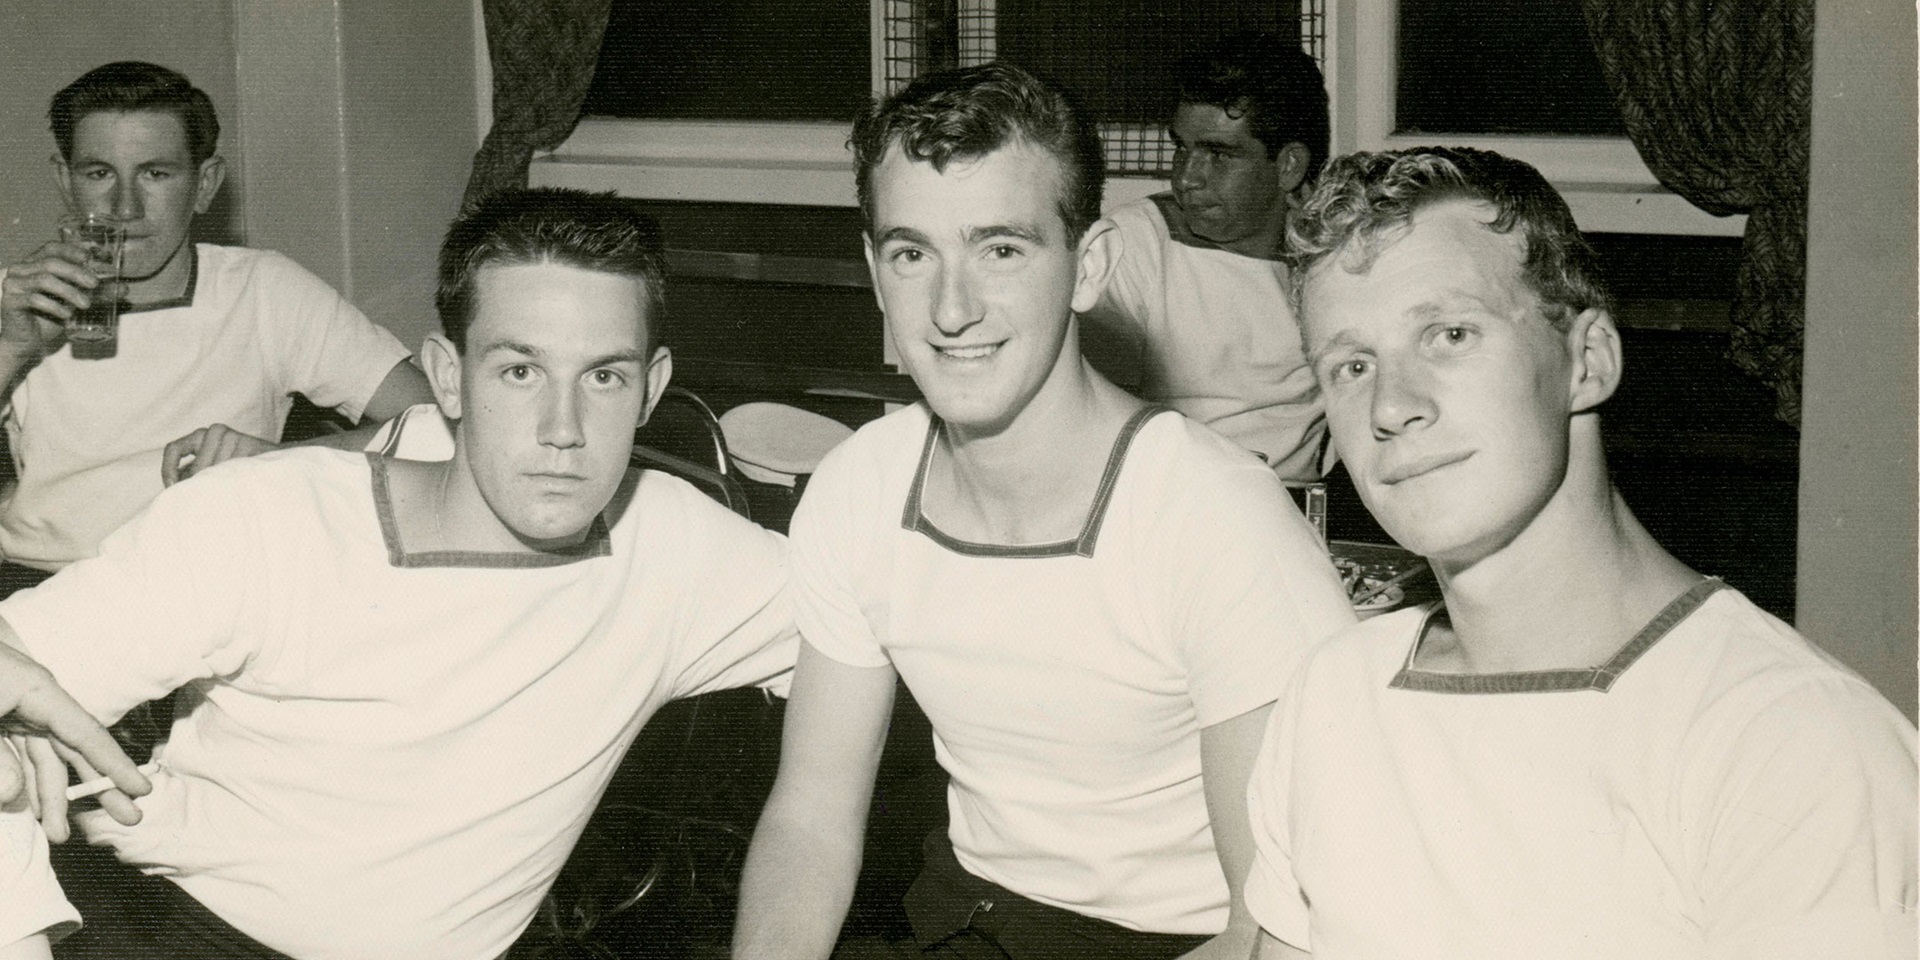
Image Credit: Members of the Voyager communication team relaxing at the Bognor Hotel in Melbourne 1963 after a trip to the Far East. Following a refit at HMAS Creswell, the Voyager would head for Jervis Bay to begin sea trials with HMAS Melbourne.
L-R: Ordinary radio Operator John Withers, Robert Laylor, Doug Rawlinson